How to Temper Chocolate

But why do you actually need to temper chocolate? When you heat chocolate, you separate the fatty acid crystals inside the cocoa butter. If you would simply let it cool down, the crystals will form unevenly, creating a change in texture and appearance. By adding pieces of chocolate to the melted chocolate, you lower the temperature while allowing the crystals to reconnect in an organised form. The temperature is then raised again very gently to keep the chocolate smooth and liquid while using it as you wish. Beware that the temperatures differ for dark, milk and white chocolate. I’ve listed them all in the notes below.
Ingredients
-
150g dark chocolate (75%)
Method
Chop all of the chocolate into small pieces so that it melts evenly. Then set 50g aside for later.
Melt the remaining 100g of chocolate, stirring constantly, in a Bain Marie (a heat-proof bowl placed over a pan of barely simmering water, without the water touching the bowl). Once melted, remove the bowl from the heat and add half of the remaining chocolate, stirring it in until melted. Then keep stirring until the mixture cools down to around 45°C. Add the remaining chocolate and keep stirring again until you reach 27°C. At this temperature, dark chocolate begins to solidify and it should feel a little thicker and glossier. At this point, you want to place the bowl back over the pan for just 30 seconds to warm up the bottom of the bowl, thereby keeping the chocolate smooth and liquid. Make sure not to exceed 32°C though, as the crystals would begin to separate and you’d need to temper the batch again (careful, the bowl will continue to carry over the heat, so warm it up for just 30 seconds and check the temperature before warming it any more).
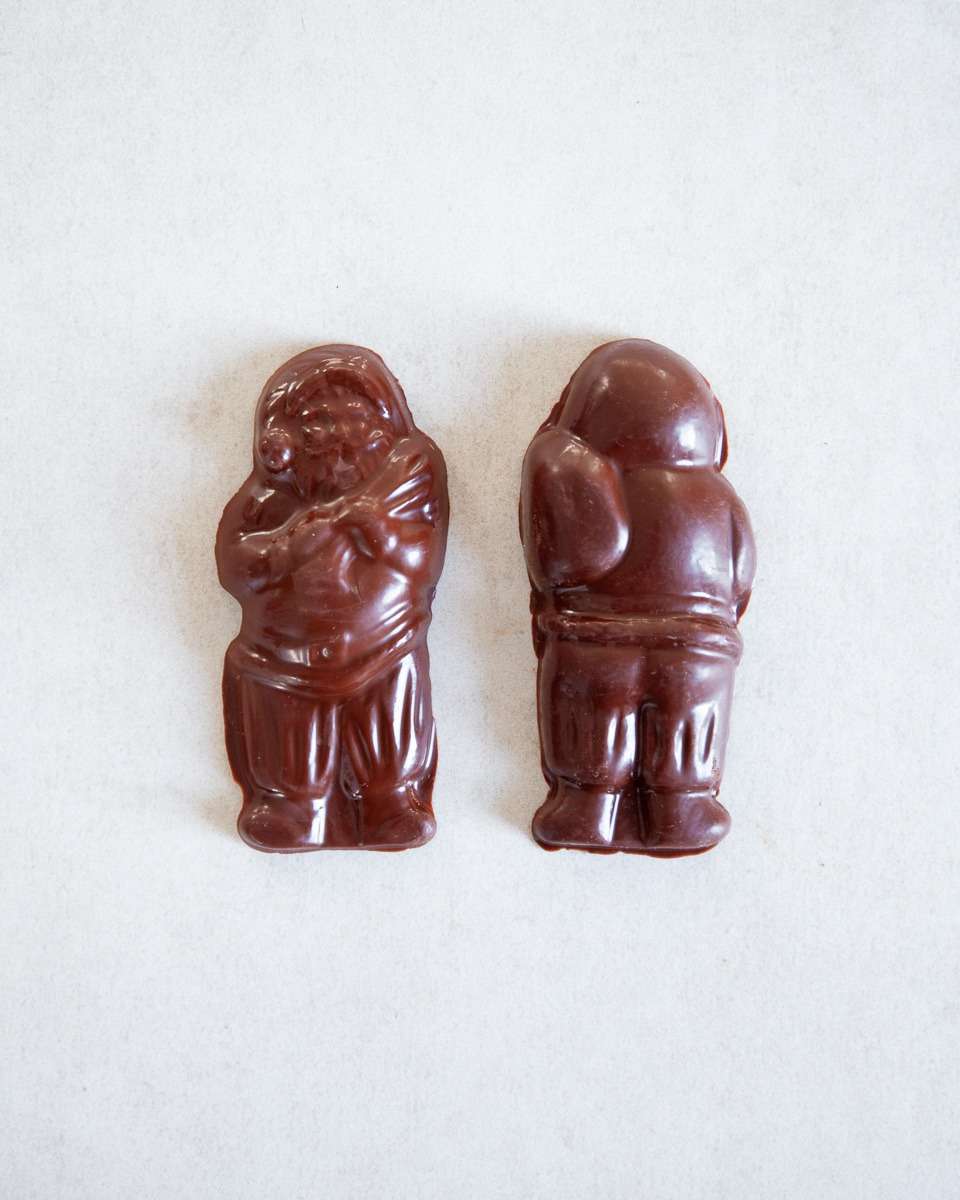
You can now use a spoon to drizzle the chocolate into a mold (or use a pastry brush) or dip whatever you’d like coated directly into the chocolate. Place the moulds upside down onto a wire rack to let any excess chocolate drip off, then refrigerate the chocolate for around 15 minutes until set.

How to Temper Chocolate
Ingredients
- 150 g dark chocolate (75%)
Instructions
- Chop all of the chocolate into small pieces so that it melts evenly. Then set 50g aside for later.
- Melt the remaining 100g of chocolate, stirring constantly, in a Bain Marie (a heat-proof bowl placed over a pan of barely simmering water, without the water touching the bowl). Once melted, remove the bowl from the heat and add half of the remaining chocolate, stirring it in until melted. Then keep stirring until the mixture cools down to around 45°C. Add the remaining chocolate and keep stirring again until you reach 27°C. At this temperature, dark chocolate begins to solidify and it should feel a little thicker and glossier. At this point, you want to place the bowl back over the pan for just 30 seconds to warm up the bottom of the bowl, thereby keeping the chocolate smooth and liquid. Make sure not to exceed 32°C though, as the crystals would begin to separate and you’d need to temper the batch again (careful, the bowl will continue to carry over the heat, so warm it up for just 30 seconds and check the temperature before warming it any more).
- You can now use a spoon to drizzle the chocolate into a mould (or use a pastry brush) or dip whatever you’d like coated directly into the chocolate. Place the moulds upside down onto a wire rack to let any excess chocolate drip off, then refrigerate the chocolate for around 15 minutes until set.

Great instructions for tempering chocolate, something that remains a mystery for many home bakers!
Thank you so much, I’m glad it was helpful. ☺️
Do you have the recipe for tempering different types of chocolate? I.e milk or chocolate.
For milk chocolate, melt to 45°C, cool to 26°C, and reheat to 29°C. And for white chocolate, white chocolate, melt to 40°C, cool to 25°C and reheat to 28°C. Hope that helps ☺️
How to temper milk chocolate?
For milk chocolate, melt to 45°C, cool to 26°C, and reheat to 29°C. ☺️