Keshek el Fouqara (Lebanese Bulgur Cheese)
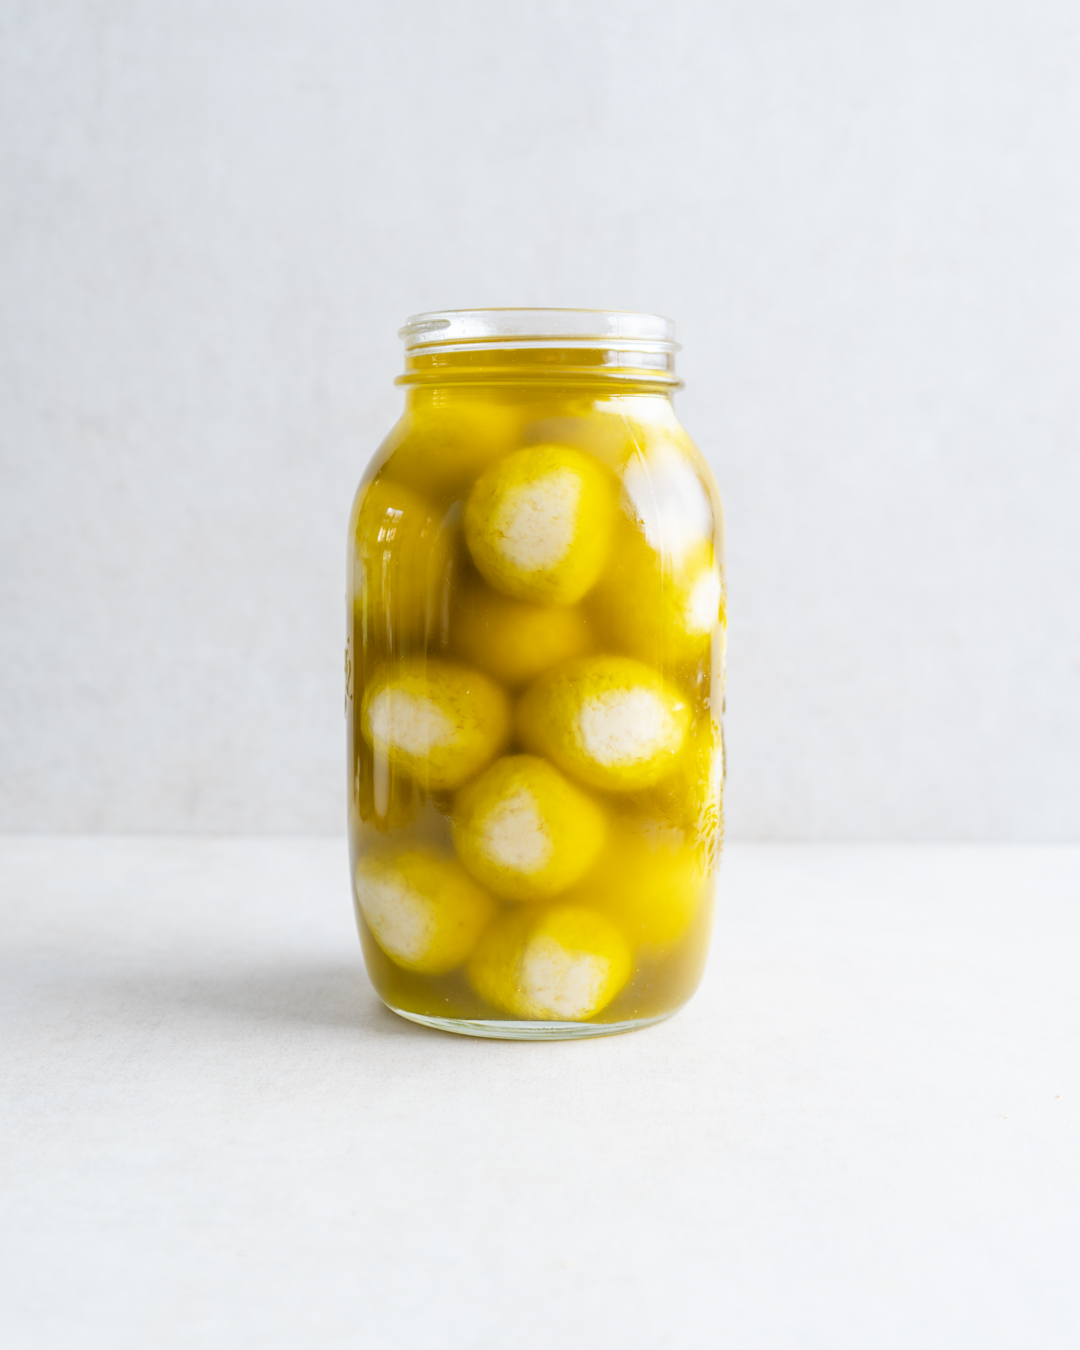
What is Keshek el Fouquara?
Keshek el Fouqara (literally “poor man’s cheese”) is an ancient Lebanese bulgur cheese developed by farmers who were too poor to afford a goat to make dairy products. Instead, they soaked and fermented bulgur until it developed cheese-like flavours. A popular recipe until around 50 years ago, it has gotten lost over the last decades. Time to revive it!
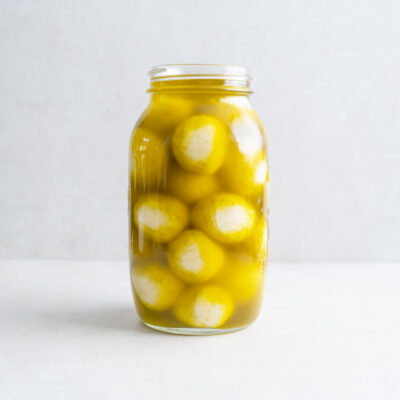
Making bulgur cheese from scratch requires patience. It’s a lengthy process of stirring the bulgur every day for around 4-6 weeks until it tastes tangy and fermented, then it is shaped into balls, coated in herbs or spices and stored in jars with olive oil for another 4-6 weeks until it is finally ready. From there, the possibilities are endless. Eat it on some crusty bread with olive oil and black pepper (see image below) or use it to finish savoury dishes, it’s an umami-packed powerhouse in the kitchen.
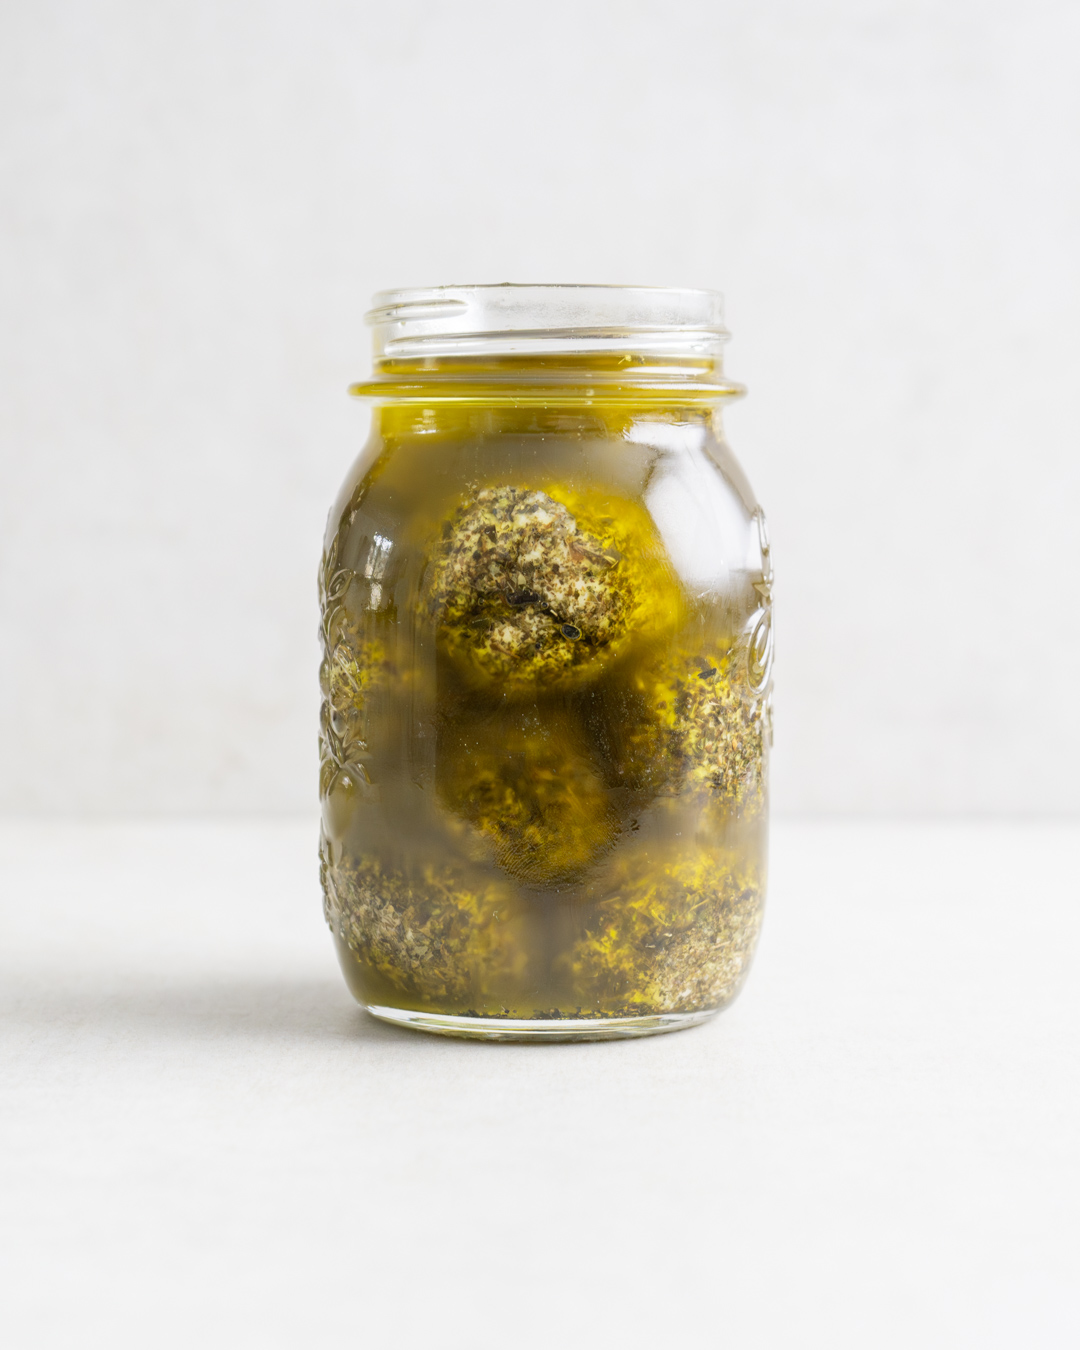
With Dried Mint
How Does It Taste?
It’s known as poor man’s cheese, because of its visual resemblance, but also because of its somewhat funky flavour notes. The fermented, aged flavour is closest to that of goat’s cheese, but it is a bit of an acquired taste for some.
Benefits of Fermentation
Fermenting the bulgur over several weeks brings with it a range of benefits:
- Enhanced Nutrition: Fermentation can increase the availability of certain nutrients in foods, such as vitamins, minerals, and amino acids. For example, fermentation of grains can increase the bioavailability of nutrients like iron and zinc. Additionally, fermentation can break down complex molecules, making them easier for the body to digest.
- Probiotic Boost: Fermented foods are rich in probiotics, which are beneficial bacteria that support gut health. Consuming probiotics through fermented foods like this bulgur cheese can help maintain a healthy balance of gut bacteria, which is linked to improved digestion, immune function, and even mental health.
- Improved Digestion: Fermented foods contain enzymes that can aid in digestion, helping the body break down and absorb nutrients more efficiently. This can be particularly beneficial for individuals with digestive issues like bloating, gas, or lactose intolerance.
- Umami: Certain fermentations like the one occurring during this bulgur cheese process can create glutamic acids, which give food an umami flavour-profile. It turns a humble ingredient into powerful flavour enhancement.
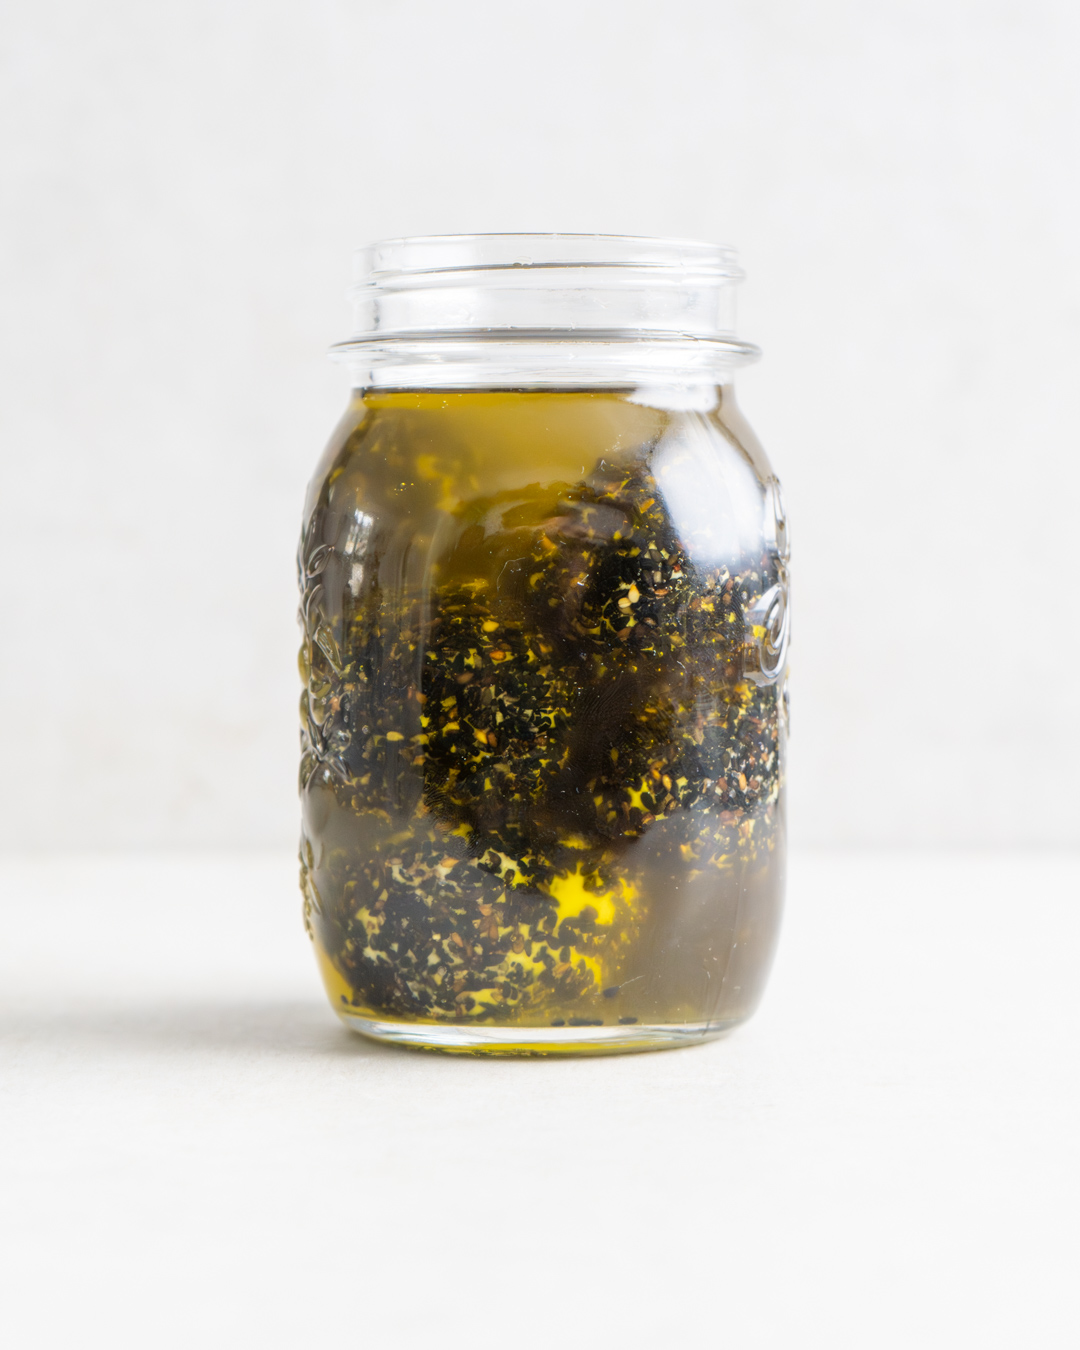
With Sesame Seeds
Storage
- As long as the finished bulgur cheese balls are covered entirely with olive oil and kept in a dark place, you can store them for several months.
Ingredients
- 500g bulgur wheat
- 28g salt
- 1400 ml water
- 1l extra virgin olive oil
- spices, herbs or seeds (optional to add flavour)
Method
Add the bulgur, salt and water to a clean 2l mason jar and stir to combine. Leave the bulgur to absorb the water for around 1 hour, then give it another stir.
Cover the jar with a cheesecloth, keep in a dark place (like the cupboard) and stir it daily for 4-6 weeks with a clean spoon to avoid any growth of fungus. For the first days, the bulgur will rise to the top, but after stirring and pressing it down, there should be enough water to cover the bulgur with a thin layer. If not, add a little bit more. After just a few days, bubbles will rise to the surface when you shake the jar or stir the bulgur, which is a sign the that fermentation has kicked in. A few days later, the bulgur will begin to break down and turn into a paste every time you stir it. You’ll notice a white layer of yeasts developing on the surface of the bulgur, which is normal. By now, it should taste tangy and slightly cheesy and you can keep going until it develops a flavour you like. The time really depends on the ambient temperature and your preference.
Once it’s fermented to your liking, line a colander with cheesecloth and tip the bulgur into the cloth. Then use some butchers string to tie the cheesecloth closed and hang it from a height with a bowl placed underneath to catch any liquid (you can also tie it to the kitchen tap and let it drain into the sink). Let it sit overnight to drain.
The next day, squeeze out more moisture if you can, then tip the paste into a bowl and use your hands to knead it as smooth as possible.
Shape the bulgur mixture into small balls. You can coat them with dried herbs, spices or seeds like sesame and nigella to add flavour. Store them in clean jars and cover them entirely with plenty of extra virgin olive oil. They can be eaten straight away but will develop more complexity over the next 4-6 weeks.
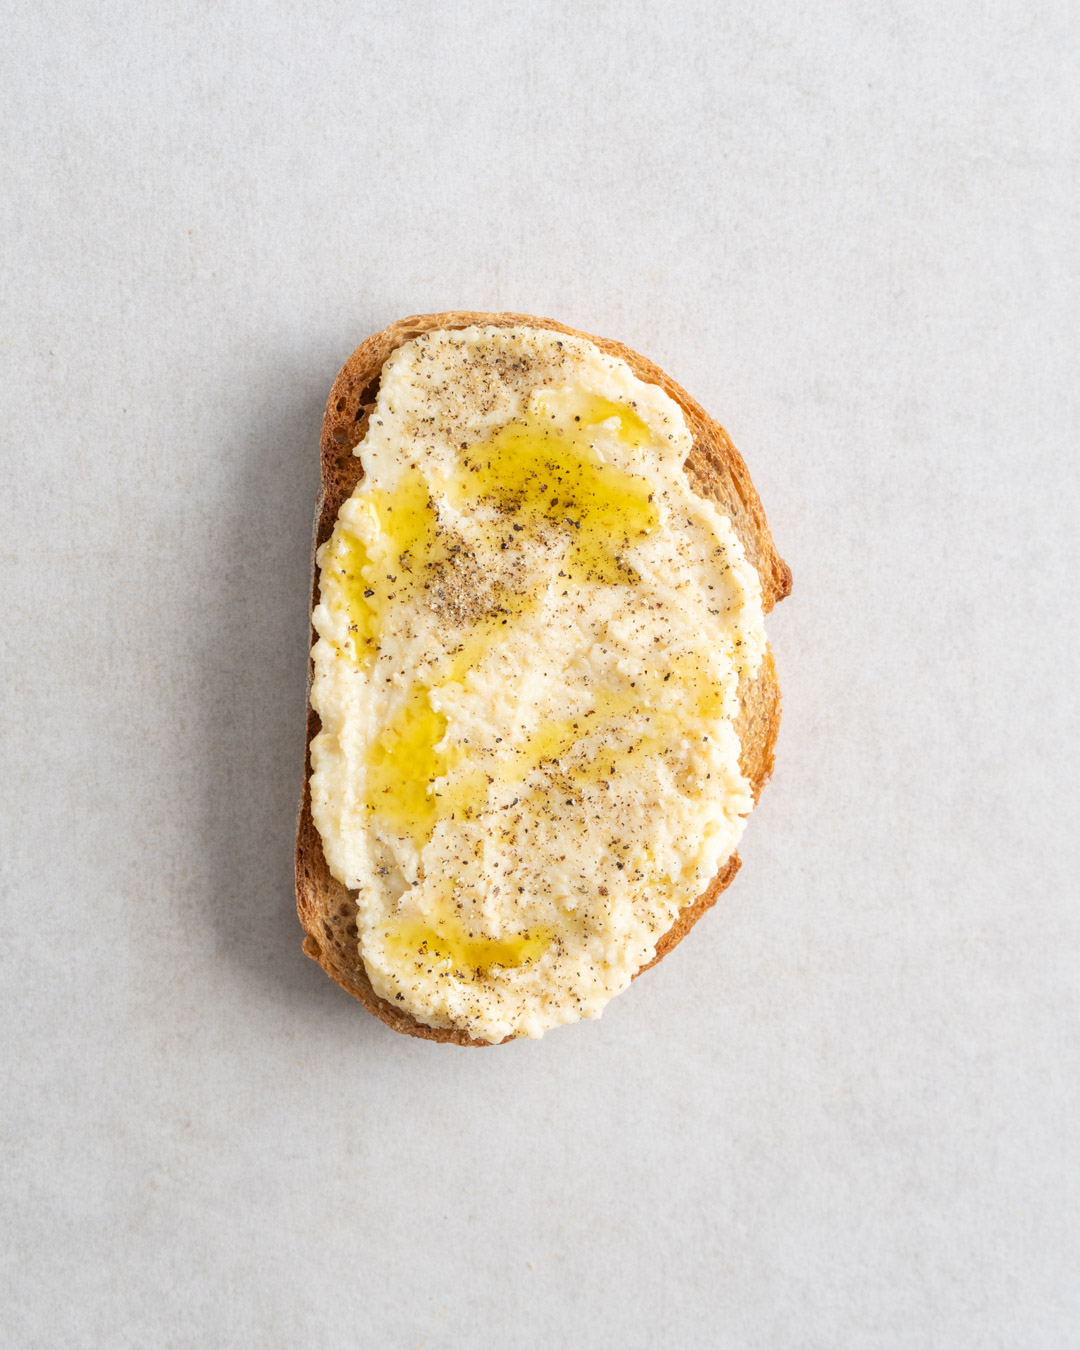
with olive oil and black pepper
As an Amazon Associate I receive a small commission from affiliate links on this page.
Keshek el Fouqara (Lebanese Bulgur Cheese)
Ingredients
- 500 g bulgur wheat
- 28 g salt
- 1400 ml water
- 1 l extra virgin olive oil
- spices, herbs or seeds (optional to add flavour)
Instructions
- Add the bulgur, salt and water to a clean 2l mason jar and stir to combine. Leave the bulgur to absorb the water for around 1 hour, then give it another stir.
- Cover the jar with a cheesecloth, keep in a dark place (like the cupboard) and stir it daily for 4-6 weeks with a clean spoon to avoid any growth of fungus. For the first days, the bulgur will rise to the top, but after stirring and pressing it down, there should be enough water to cover the bulgur with a thin layer. If not, add a little bit more. After just a few days, bubbles will rise to the surface when you shake the jar or stir the bulgur, which is a sign the that fermentation has kicked in. A few days later, the bulgur will begin to break down and turn into a paste every time you stir it. You'll notice a white layer of yeasts developing on the surface of the bulgur, which is normal. By now, it should taste tangy and slightly cheesy and you can keep going until it develops a flavour you like. The time really depends on the ambient temperature and your preference.
- Once it’s fermented to your liking, line a colander with cheesecloth and tip the bulgur into the cloth. Then use some butchers string to tie the cheesecloth closed and hang it from a height with a bowl placed underneath to catch any liquid (you can also tie it to the kitchen tap and let it drain into the sink). Let it drain overnight.
- The next day, squeeze out more moisture if you can, then tip the paste into a bowl and use your hands to knead it as smooth as possible.
- Shape the bulgur mixture into small balls. You can coat them with dried herbs, spices or seeds like sesame and nigella to add flavour. Store them in clean jars and cover them entirely with plenty of extra virgin olive oil. They can be eaten straight away but will develop more complexity over the next 4-6 weeks.

I would love to try this but can it be made with a non-glutenous grain?
Haven’t experimented with that yet, so can’t give any advice here unfortunately. Sorry!
Is bulgur wheat different to bulgur? I have bulgur in my cupboard but there’s no mention of wheat anywhere on the packaging
That should be the right kind of bulgur. It should be yellow in colour and either coarse or fine, although I’ve used coarse for this recipe.
Hi Julius. I am trying this recipe. After weeks of stirring daily, the bulgur is still not falling apart. What should I do?
That’s fine. You can always break it down in the food processor later on. Just try a little bit of the bulgur. If it’s tender enough to the bite and you like the flavour then you’re good to go.
Yesterday the ‘cheese’ balls were ready and tasting very good! Thank you for the recipe and the advice!
That’s great! 🙂
Hi, I absolutely love this idea. Thank you for sharing. Im just wondering if I could use probiotic capsule ( only the powder) to speed up fermentation?
Thank you
The fermentation is active after 2-3 days. Afterwards, the flavours just develop and you’re also breaking the bulgur down by stirring it daily. I’m not too sure if adding the capsule would actually speed it up!
Is it possible to do with rice wheat? Because of gluten alergic..
I haven’t tried it with rice, unfortunately. Hopefully another reader will be able to give advice on this.
I could only find red bulgar. Will that work too or do I need to use the yellow one?
Yes, that should work as well!
Yes you can with sorghum.
It’s delicious !
I ´m exploring with millet, corn couscous and buckwheat.
We will see…
Haven’t made this recipe, but I have made a kishk recipe that uses yoghurt along with the bulgar (my family’s tradition), and because we can’t have gluten, I just substituted rolled oats. Perhaps that would work?
I would suggest upping the sodium content. Lower than 2% salinity is a precarious state for fermentation. I am making this myself but the salt and water levels had to be adjusted.
You’re absolutely right. I’ve actually updated the recipe now based on that, thanks for the tip and apologies for the oversight.
28gr of salt is just the 2% of water, I was told that it should be 2% of total weight, I’m not sure now what it should be
I tested it this way and it worked out well. In my previous batch I used 2% of the total batch, but it was too salty and hindered the fermentation as well.
Hey what would be the recommended ratio then? Any idea?
All the details are in the recipe card at the bottom of the page. Hope that helps! ☺️
I have a feeling the salt ratio is too low. Mine has developed some mould. Possible contamination but I have a little experience fermenting other things (mostly Chilis and vegetables).
Sorry to hear about the mould. Hmm, if you can bear starting another batch, you can try it with 0.2% of the total wight (aka 38g). Hopefully that does that trick!
After adding the olive oil, don’t store it in room temperature or in the fridge? Also, what spices would you recommend trying? 🙂
Peppercorns, pink peppercorns, mustard seeds, cumin seeds or coriander seeds would be a great start. You can store it at room temp as long as it’s covered entirely. ☺️
Looking forward to trying this cheeseee!
Can I use any other oil instead of olive oil?
Any good quality oil would be fine. It’ll be stored run there for quite long, so make sure you like the flavour.
I have been making a similar product from a recipe in Sandor Katz’s book The Art of Fermentation. He unfortunately did not give quantities and relied heavily on instinct, which I found difficult when I was new to fermenting foods. I have had both success and failure but I am at a loss to pinpoint what went right or wrong, there is a point in this process where stirring in the yeast that develops on top seems profoundly wrong when you are used to removing that yeast from sauerkraut and other vegetable ferments. The advice seems to be – keep going! The successes were delicious, even without added herbs or seed coatings, a delicacy from the plainest of ingredients. I look forward to trying your quantified recipe to banish the failures and promote success.
Oh exciting! Let me know how it goes with the measured quantities, hopefully it’ll make it a little more approachable.
It’s now 40 days in and I am draining it in a cheesecloth. The bulgur hasn’t broken down as much as I would’ve liked, so might have to use the food processor to get a better texture. It went through the stages described and tastes fermented so I’m hoping it will be okay in the oil.
Yes, I think give the food processor a go if you want to break it down more so that they hold their shape. Great to hear that it tastes fermented, sounds like you’re on the right track. Enjoy!
I’m whole food plant based for health issues, and have to avoid free oils. Is there another way to store this safely without immersing it in oil? I make other fermented spreadable vegan cheeses out of oats, nuts and seeds that store for weeks in a jar in the fridge and was wondering why this would be any different if I made a modest amount?
Do you have recipes or links for these cheeses? I need to avoid oils and your examples sound lovely.
The recipe is at the bottom of the page 🙂 You can make it your own by coating them with any herb or spice you like.
You can store it in the fridge, but you wouldn’t be able to store it for longer than a few days. Adding some lemon juice will also help to make it more stable. Oil prevents air (bacteria) from spoiling the food. Unfortunately I haven’t experimented with other substitutes yet.
Herman! Loved the recipe ????
After going through the whole jar of them ???? would you say it is possible to reuse the olive oil for a new batch? Maybe filtering with a clean tightly knitted cloth would be recommended. What are your thoughts on this?
Amazing! Yes, good shout, filter it well and then use it for cooking. To store a new batch, I’d use fresh olive oil just to be on the safe side.
I have tried this, using ‚red‘ lebanese bulgur given to me by a lebanese friend. Stirred it daily for 6 weeks. It did not break down.
When I tried to roll the balls, they barely held together. They look pretty in the olive oil jar – it‘s been only 3-4 weeks in oil. I tasted one – liked it, but it was like tangy, softened bulgur, not like cheese.
As often, when deviation slightly from recipes the result won’t quite be the same. Red bulgur tends to be a bit harder and won’t break down like white bulgur does. You should still be able to ferment it. Leave it for a little longer to get that cheesy flavour.
After day one, the bulgar wheat has drank all of the water, when I add more water do I also add salt?
Great shout, you can add 2% salt to keep the salinity of the brine consistent. Although admittedly I didn’t do this for my batch.
What happens if there is no salt, just water? Is it dangerous? In Brazil we ferment kassava without the salt.
Salt helps with a more stable fermentation that’s less likely to spoil. If you’re confident with fermenting, you can probably add it at a later stage. ☺️
Hello there! I really would like to try this, however buying bulgur wheat doesn’t seem to be easy. Does it need to be fine? Coarse? Would it work with any kind of bulgur? I’m looking at ‘iberia bulgur wheat’ but i’m not entirely sure if that’s usable. Thank you!
In the video he says coarse bulgur
You can use either, but I’ve used plain coarse bulgur for this recipe. Hope you like it!
Once it’s covered in olive oil, is it better to store it in the fridge or in the pantry?
You can keep it at room temperature. ☺️
In a Reddit post, I read that fermenting produce in oil may result in botulism: https://www.reddit.com/r/vegancheesemaking/comments/k9jfna/keshek_el_foukara_fermented_bulgur_cheese/. Please advise on this. Thank you very much!
Thanks for sharing your concern. Please note that I am not trained or licensed to give adequate health & safety advice on this. But the comment in the linked thread mentions vegetables, which have a higher risk of developing botulism. Plus, the bulgur was first fermented in a brine, before being stored in oil. There are many cheeses like feta and labneh that are commonly stored in olive oil as well. I hope this helps. If still concerned, you can store the finished cheese in the fridge for a few days as well 🙂
What an interesting recipe! ????
I’m currently following it, and I have noticed that the only thing that seems to start to mold is any small bulgur piece that has ended of above the water surface, on the glass on the inside of the jar. Do you think that if you are very careful with making sure that you have no bulgur particles clinging to the glass above the water surface, that you can make this without having to stir it?
Part of the reason I’m asking is because I have already let the bulgur–water–salt mixture ferment for six weeks while I have stirred it every day, but now I will be traveling for one week and I don’t have enough time to strain the mixture (and blend it and roll it into balls) before I’m leaving, so I have simply wiped the inside of the glass jar really well to try to prevent any mold from forming while I’m gone and I’m crossing my fingers that will work. (If I get mold anyway, I still hope that it will only be on the surface and that I can remove it easily. I guess time will tell…)
Since you’ve already fermented it for quite a while, your best bet would be to store it in the fridge until you’re back and then strain and roll it into balls. In either case, I would not risk consuming it if you notice any mould on the surface upon your return. To answer your first comment, absolutely, any grains that are stuck to the glass and are outside the water have a higher risk of turning mouldy. So it’s always important to stir it well and submerge everything evenly. Good luck with it! I hope you come back to happy batch that’s ready to be turned into bulgur balls!
Tried these and they are wonderful…it’s very hot here where I am so the fermentation didn’t take as long…plain on pizza, herbed ones I couldn’t taste the herbs too well (maybe an herbal garlic oil next time?) but the seeded ones were divine! (cumin, fennel, nigella, coriander) the seeds got chewy and added much flavor. I store mine in the fridge in oil…(house runs 90-100F) and onwards to my second batch…lovely…TY so much for sharing this recipe!
There we go!! Great suggestions for flavours as well. Thanks for giving it a go!
Can anyone tell me if it’s at all possible for the ferment to become alcoholic? I’m 5 weeks into the project and got kind of a beery whiff today, but it was faint. It’s dangerous for me to have any alcohol whatsoever, but I’ve been so excited about this! (It’s been cool here so I’m doing a long-ish ferment).
TIA
Hi Ann, from my understanding, most fermentations can contain traces of alcohol. I don’t mean to scare you off it, but also want you to approach it with care, since you said it’s dangerous for you to have any alcohol. Hopefully, someone can add a more detailed answer to this soon.
Hi Hermann would this work with wholemeal bulgur?????????
All bulgur is essentially made from wholewheat, if I’m not mistaken. If you mean the brown bulgur compared to white, the brown one is made from red bulgur wheat. The short answer is, yes, absolutely, you can. It’ll most likely even be more authentic.
Hi Hermann ! Thank you for this recipe, I made my first batch and the second is on the way. It was well worth the effort and the wait ! They have a very interesting taste, I love having them with pasta or just on a slice of bread. Really love the ones that I have covered in black pepper. I recommend to you all if you want to try something new! Sending you good vibes from France
I’m so glad you gave it a go and like it! Yes, you can go wild with the topping combos, and how to use the bulgur cheese. Sounds delicious!
Hi there,
Quick question re: cheesecloth – do you rinse it with hot water before covering the jar? When making labneh I usually use medical gauze from the pharmacy for sterility, but I find that if I don’t rinse it imparts an unpleasant, hospital-like flavour to the final product. But since in the first step, the gauze wouldn’t necessarily touch anything, I’m wondering if I could skip this step and cover the jar with gauze fresh out of the packet.
I’ve never rinsed the cheesecloth before and haven’t had any issues so far.
Hello,
I have given this recipe 3 tries and finally seem to have succeeded on the third go. Am excited to make them into balls. My question is, do you put the lid on the jar of balls in oil or do you put cheesecloth over the jar?
Phew! I’m glad it worked in the end. What happend during the previous attempts?
Once they are submerged in the oil you can close it with a lid.
Could i reuse the olive oil used im this recipe?
Yes, you can strain it and use it in cooking.
I started the process and it was looking good the first days. There were bubbles and a white layer. But after about 10 days, there were no more bubbles or that white layer. I keep stirring it every day but now on the 3rd week it is still the same, no bubbles. It does have a cheesy smell, quite strong I’d say, the whole cupboard smells when I open it. Do you have any recommendations? Is it going good or should I restart?
Hey Aliki, yes that’s fine. The activity tones down a bit once the bacteria have converted most of the sugars. As long as the batch looks unspoiled, you’re on the right track! Hope you like the final result!