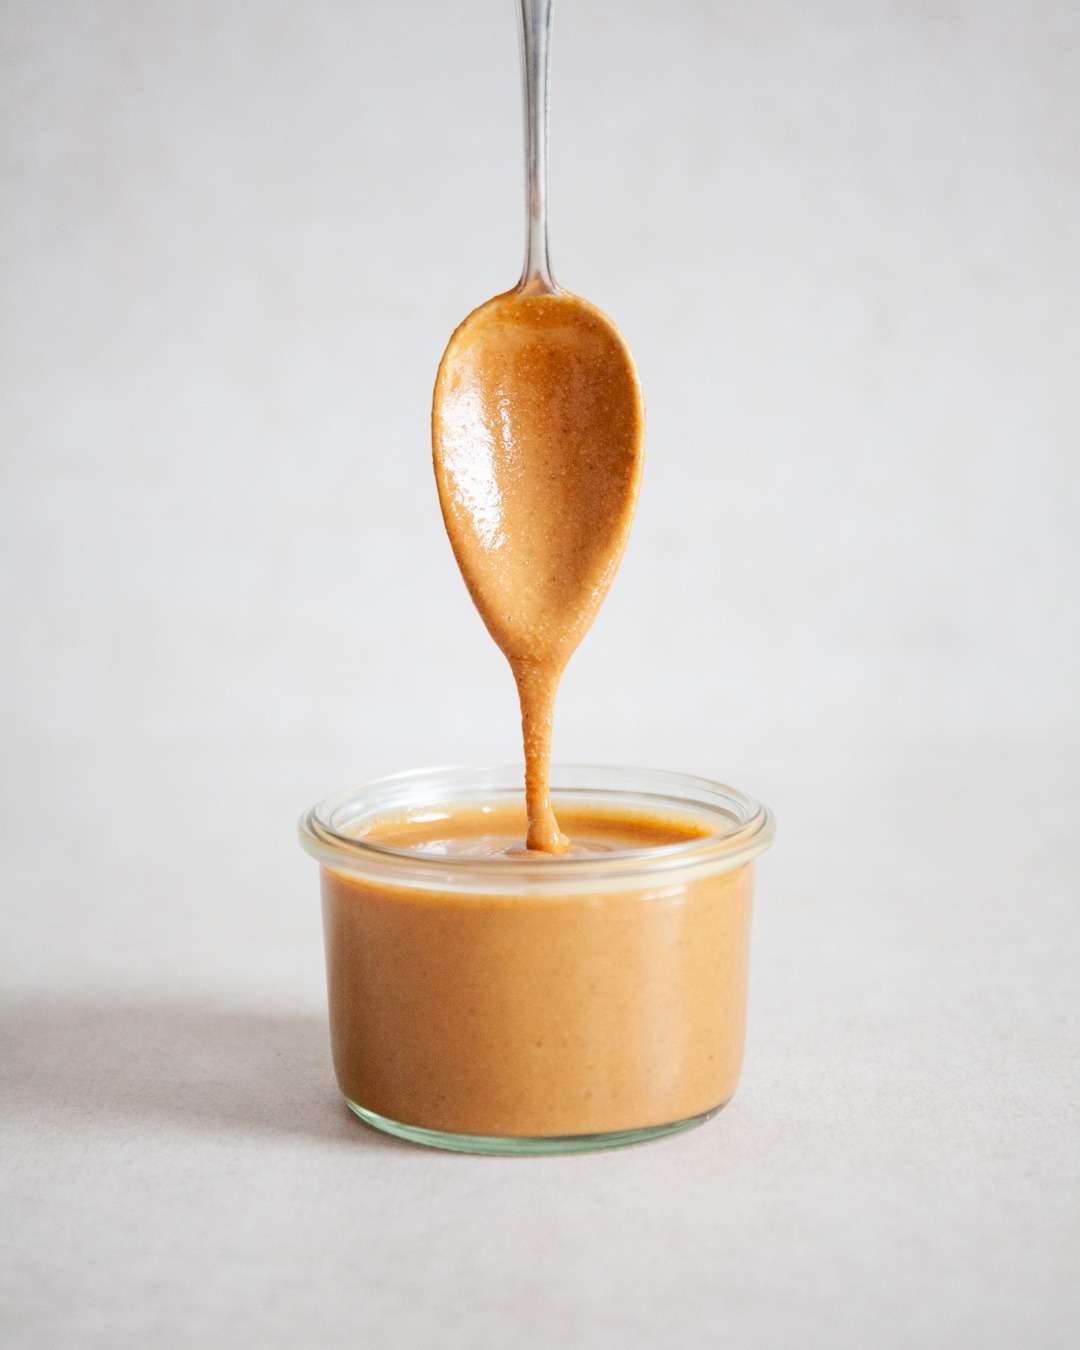
Any Nut Butter

Nuts are a daily part of my diet. At least once a day, often more. They are one of my main sources of protein, while also covering the often overlooked yet crucial intake of healthy fats. They strengthen your immune system, your brain health and even your vision. If you don’t fancy just munching on them, turning nuts into a nut butter is a brilliant hack to increase your intake. Mix them into smoothies, cookie doughs or, frankly, just eat them by the spoonful.
With this simple method, you can turn pretty much any nut into nut butter. For a smoother butter, use blanched/skinless nuts. Then roast your nuts for 10-20 minutes (at 180°C) until they look golden and smell fragrant. This step doesn’t only bring out their best flavour, but it releases the natural fats, which makes blending them much easier.
Now you can use a blender or food processor, but what really makes a difference here is volume. Use enough nuts (minimum 300g) and let the blender or food processor run, scraping it down now and then until you have a smooth nut butter. No oil needed!
My Vitamix E310 manages to turn most nuts into nut butter in just around 1 minute. It’s super quick. Pistachios tend to be a little bit more difficult to process. I used a food processor to be able to scrape down the sides more easily after every minute of blending. It took around 20 minutes before they finally formed a smooth butter. So whatever you do, believe in the process and keep going. The nuts will go from crushed to a dry nut flour to a sticky paste and finally to a smooth butter.
makes 300g
Ingredients
-
300g nuts (skinless for a smoother butter)
-
pinch of salt
Method
Preheat the oven to 180°C. Once ready, roast the nuts for 10-20 minutes or until golden brown (pistachios take 10 minutes, hazelnuts up to 20). Then let them cool off for 5 minutes.
While still warm, add the nuts to a blender or food processor along with 1/3 tsp salt and blend until smooth. You won’t need to add any oil. Simply stop the machine after every minute and scrape down the sides, then blend again. Some nuts only take 1 minutes (for instance hazelnuts) others might take up to 20 minutes (for instance pistachios). If it seems impossible to turn it into a butter, you can add 1 tbsp of neutral oil (like vegetable oil) as well, but it shouldn’t be necessary.
Transfer the butter to a jar and store at room temperature. It will firm up into a spreadable paste over the next two days.
**I receive a small commission from affiliate links on this page**

Any Nut Butter
Ingredients
- 300 g nuts (skinless for a smoother butter)
- 1 pinch of salt
Instructions
- Pre-heat the oven to 180°C. Once ready, roast the nuts for 10-20 minutes or until golden brown (pistachios take 10 minutes, hazelnuts up to 20). Then let them cool off for 5 minutes.
- While still warm, add the nuts to a blender (I use my Vitamix E310 or food processor along with 1/3 tsp salt and blend until smooth. You won’t need to add any oil. Simply stop the machine after every minute and scrape down the sides, then blend again. Some nuts only take 1 minutes (for instance hazelnuts) others might take up to 20 minutes (for instance pistachios). If it seems impossible to turn it into a butter, you can add 1 tbsp of neutral oil (like vegetable oil) as well, but it shouldn’t be necessary.
- Transfer the butter to a jar and store at room temperature. It will firm up into a spreadable paste over the next two days.
