")
If you ever added a small amount of water to melted chocolate, you’ll have witnessed the unfortunate transformation from a luxurious texture to a stiff paste. The chocolate seized.
There is, however, a way to add water to chocolate without it seizing. And what’s even more exciting is that you can use that method to turn the liquid chocolate into a rich mousse.
This is a discovery made by the French chemist Hervé This, also known as the father of molecular gastronomy. He realised that if you add a large enough quantity of water, the fats in the chocolate do not clump together, but suspend into a smooth liquid instead. If you then slowly cool the chocolate down while whisking, the bonds begin to form again and trap air inside the fat molecules, thereby creating a mousse.
The process takes barely 10 minutes. You can add the boiling water straight to a bowl with chocolate, let it melt entirely and then whisk it over an ice bath for just 5 minutes. The result is a surprisingly rich mousse with an incredibly pure chocolate flavour. Thanks to the cooled down water, it almost seems refreshing compared to a heavy chocolate dessert.
How much water to chocolate?
I based my recipe on 74% dark chocolate to which I added 0.84x water. When I compared this to other recipes, it seems that with every percent decrease of pure chocolate, you need to add 0.01x less water. The examples below make it a little easier to follow:
For 65% dark chocolate add 75% water (multiply the choocolate by x0.75)
For 70% dark chocolate add 80% water (multiply the choocolate by x0.8)
For 74% dark chocolate add 84% water (multiply the chocolate by x0.84)
For 75% dark chocolate add 85% water (multiply the chocolate by x0.85)
While it’s fine to add a little less (it’ll result in a denser mousse), it’s important not to exceed the suggested amount of water, because the mousse won’t hold its shape. So I’d advise to use a digital scale to weigh out exactly how much you’re adding, rather than eyeballing it with a measuring jug.
Fixing a failed batch
There are three things that can do wrong, all of which are easy to fix by melting the chocolate again and making adjustments.
If the chocolate remains liquid and doesn’t form a mousse at all, there’s not enough fat in the mixture. Add another handful of chocolate, gently melt it all in a sauce pan and whisk it again over the ice bath.
If the mousse becomes too dense at the end, then there’s too much fat and you need to add more water.
The chocolate can also become grainy, which is a sign that you over-whisked it. In that case, just melt it again and give it another go, whisking a little less vigorously and taking the bowl out of the ice a little earlier.
Flavouring the mousse
You can swap some of the water for 1-2 tbsp of dessert wine to flavour the chocolate. Or serve the finished mousse with flakey sea salt to bring out even more of the chocolate notes.
Storage
You can store the finished mousse in the refrigerator for 3-4 days.
serves 6-8
Ingredients
-
500g Ice cubes
-
250g 74% dark chocolate
Method
Bring a kettle of water to the boil. In the meantime, add 2 large handfuls of ice cubes (around 500g) to a large bowl and pour in enough cold water to almost reach the top of the ice.
Break the chocolate into a medium bowl (that easily fits into the large bowl) and pour over 210ml of boiling water (don’t exceed this amount or the mousse won’t hold its shape). Whisk it until the chocolate has completely melted.
Now place the bowl with the chocolate into the bowl with the ice and whisk until the chocolate begins to thicken (4-5 minutes), thereby incorporating air. Once it has thickened to a point where the whisk leaves thick ribbons and the surface doesn’t instantly level out when you drizzle the chocolate, remove the bowl from the ice and continue whisking for another 30 seconds as it cools down even further. This happens really quickly, so rather remove it too early and continue whisking it to see if it stiffens up into a mousse. If not, return it to the ice bath and cool it down a little more.
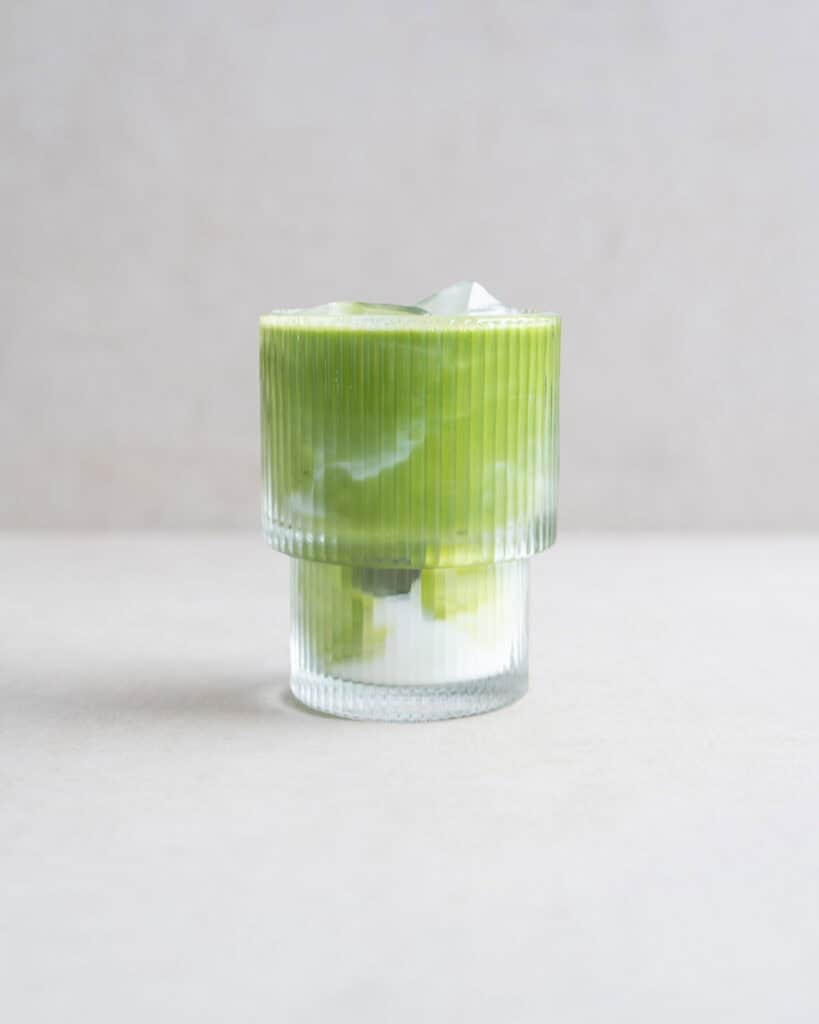
Either spoon the mousse into a glass or serve it on a plate. To do this elegantly, soak a tablespoon in very hot water to heat it up. Then make a quenelle by pushing the warm spoon through and finally around the chocolate mouse for a smooth egg shape.
Storage: Refrigerate for 3-4 days.
As an Amazon Associate I receive a small commission from affiliate links on this page.
2 Ingredient Chocolate Mousse
Ingredients
- 500 g ice cubes
- 250 g 74% dark chocolate
Instructions
- Bring a kettle of water to the boil. In the meantime, add 2 large handfuls of ice cubes (around 500g) to a large bowl and pour in enough cold water to almost reach the top of the ice.
- Break the chocolate into a medium bowl (that easily fits into the large bowl) and pour over 210ml of boiling water (don’t exceed this amount or the mousse won’t hold its shape). Whisk it until the chocolate has completely melted.
- Now place the bowl with the chocolate into the bowl with the ice and whisk until the chocolate begins to thicken (4-5 minutes), thereby incorporating air. Once it has thickened to a point where the whisk leaves thick ribbons and the surface doesn’t instantly level out when you drizzle the chocolate, remove the bowl from the ice and continue whisking for another 30 seconds as it cools down even further. This happens really quickly, so rather remove it too early and continue whisking it to see if it stiffens up into a mousse. If not, return it to the ice bath and cool it down a little more.
- Either spoon the mousse into a glass or serve it on a plate. To do this elegantly, soak a tablespoon in very hot water to heat it up. Then make a quenelle by pushing the warm spoon through and finally around the chocolate mouse for a smooth egg shape.


How do you “ melt” the mousse down when it does not set so I can add more chocolate? I assume over a saucepan of simmering water while whisking? That is the only part missing from your recipe. I tried it with milk chocolate but I must have used too much water as it did not even set in the fridge over night.
You can melt it the same way as you melted the chocolate (in a bowl over simmering water). It’ll just take a little longer. Try using dark chocolate for your next batch, if you can, as you need the right amount of cacao butter for it to seize into a mousse.
Hello, would this also work with 99%-100% chocolate?
Ooh, interesting question. I haven’t tried that yet, but in theory it should work. If you use 100% dark chocolate, you will probably need to add the same weight of boiling water.
I assume the chocolate you used is sweetened. We live in South America and our chocolate aka cacao is normally unsweetened. Suggestions for adding a non sugar sweetener?
I used 74% dark chocolate, so yes, there’s some added sugar. I haven’t tried this process with pure chocolate plus an added sweetener. It should work, but might require a bit of fine tuning. You can use any sugar alternative you like. Maple or agave syrup, for instance. Add it to the chocolate and then melt it together, before whisking it over ice.