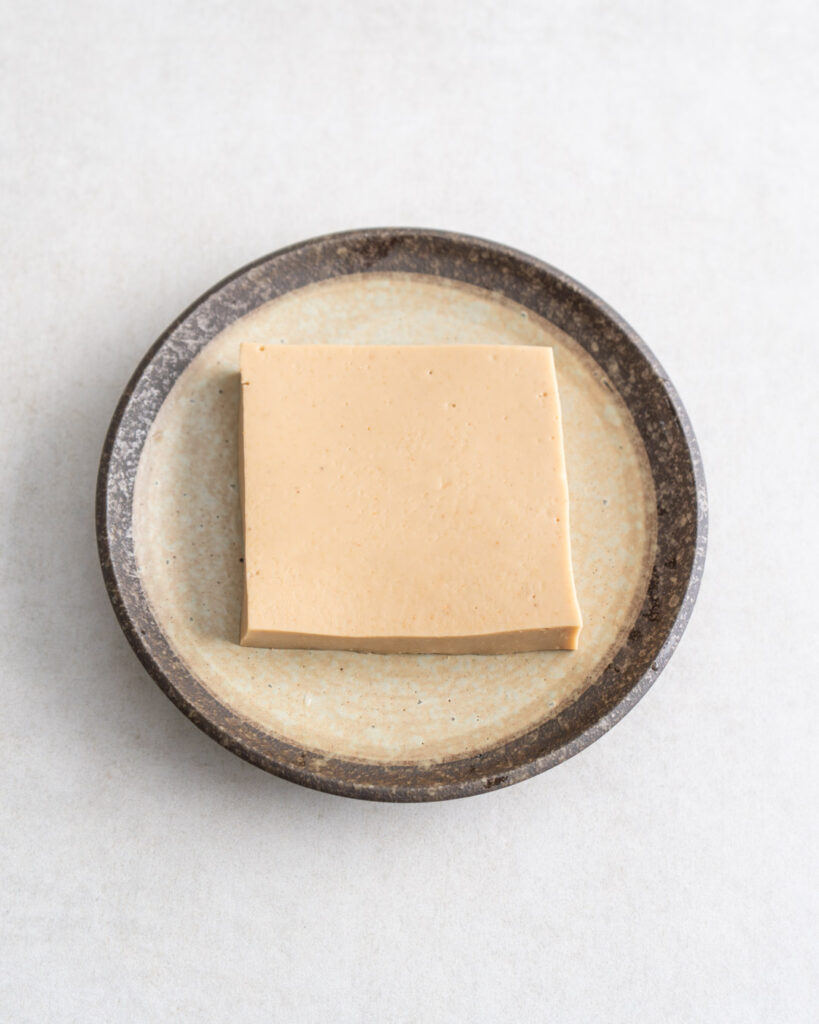
This is not an attempt to recreate cheese. You can slice it like cheese. It has certain attributes of cheese. But it’s not cheese. It’s a product of its own right, an application of fermentation to proteins and fats. It’s an exciting opportunity to naturally transform cashews into a probiotic food and thereby filling a gap in the plant-based diet.
Benefits of Fermenting Cashews
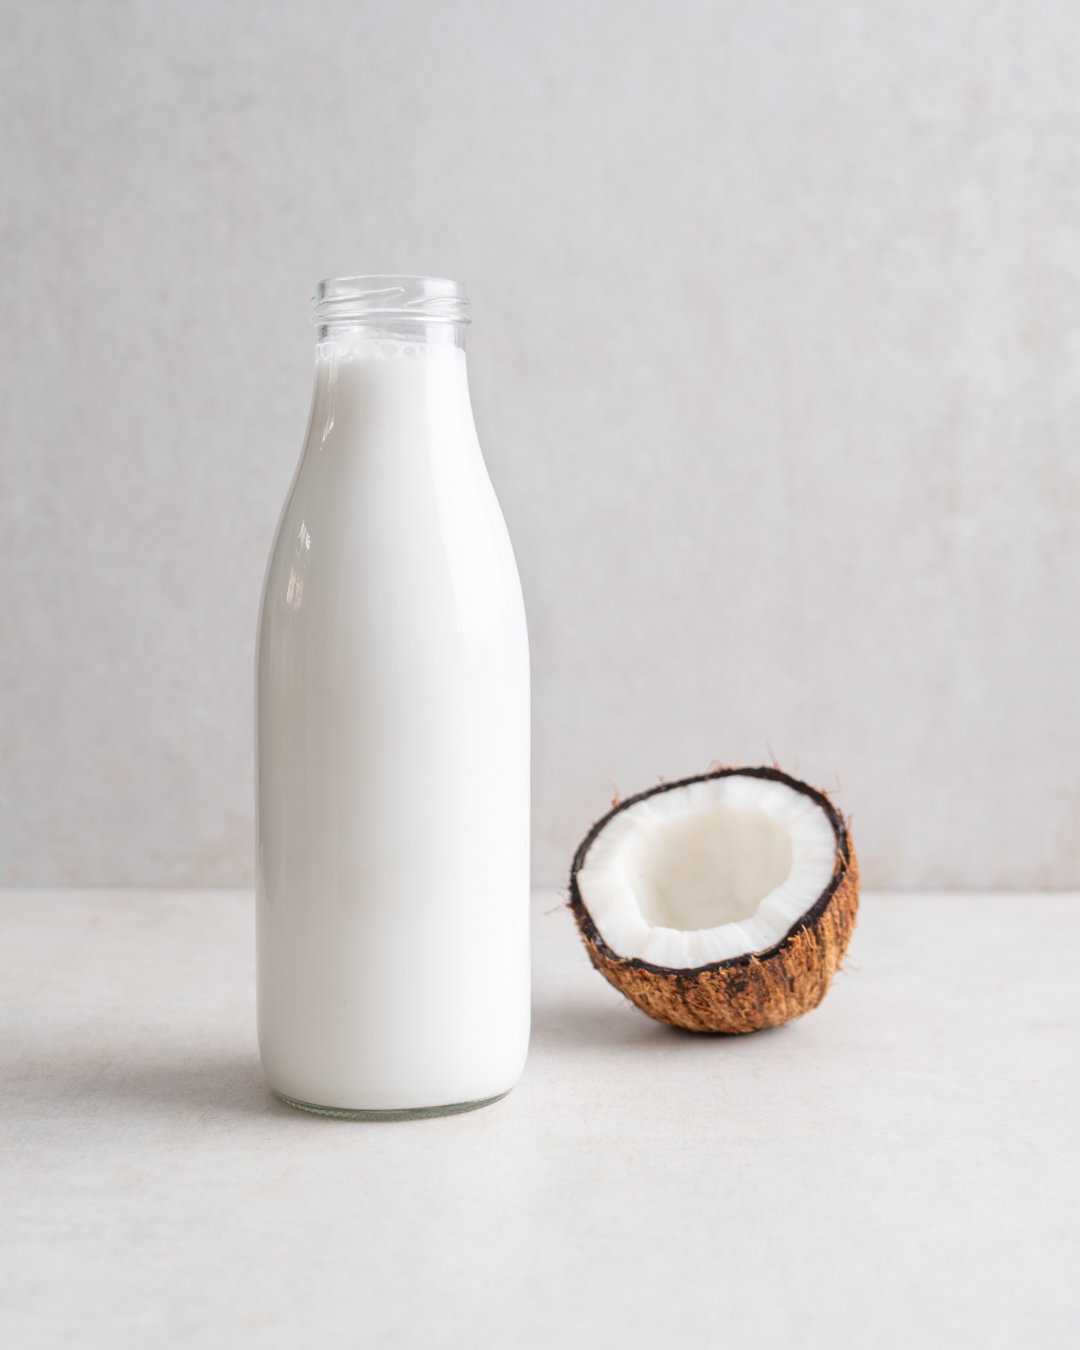
Cashews are a type of tree nut that is native to Brazil but are now grown in many parts of the world, including India, Vietnam, and Nigeria. You can buy organic cashews from Forest Whole Foods or Hatton Hill Organic. The process of fermentation involves breaking down the sugars and starches in the cashews using beneficial bacteria and yeasts. This not only enhances the flavour and texture of the cashews but also makes them easier to digest.
Fermented cashews are a great source of plant-based protein, healthy fats, and essential vitamins and minerals such as magnesium, phosphorus, and zinc. They also contain beneficial compounds such as probiotics, which are important for gut health and immunity.
Storage
You can store the aged cashew ferment with a dry coating for 3-5 days in the fridge. For the wild garlic coating, eat the same day.
makes 3 cylinders
Ingredients
Cashew Ferment
Black Pepper, Sesame & Seaweed Coating
-
1 tbsp black peppercorns
-
1 tbsp black sesame seeds (and a few white ones)
-
1 nori sheet
Wild Garlic Coating
-
50g wild garlic
Method
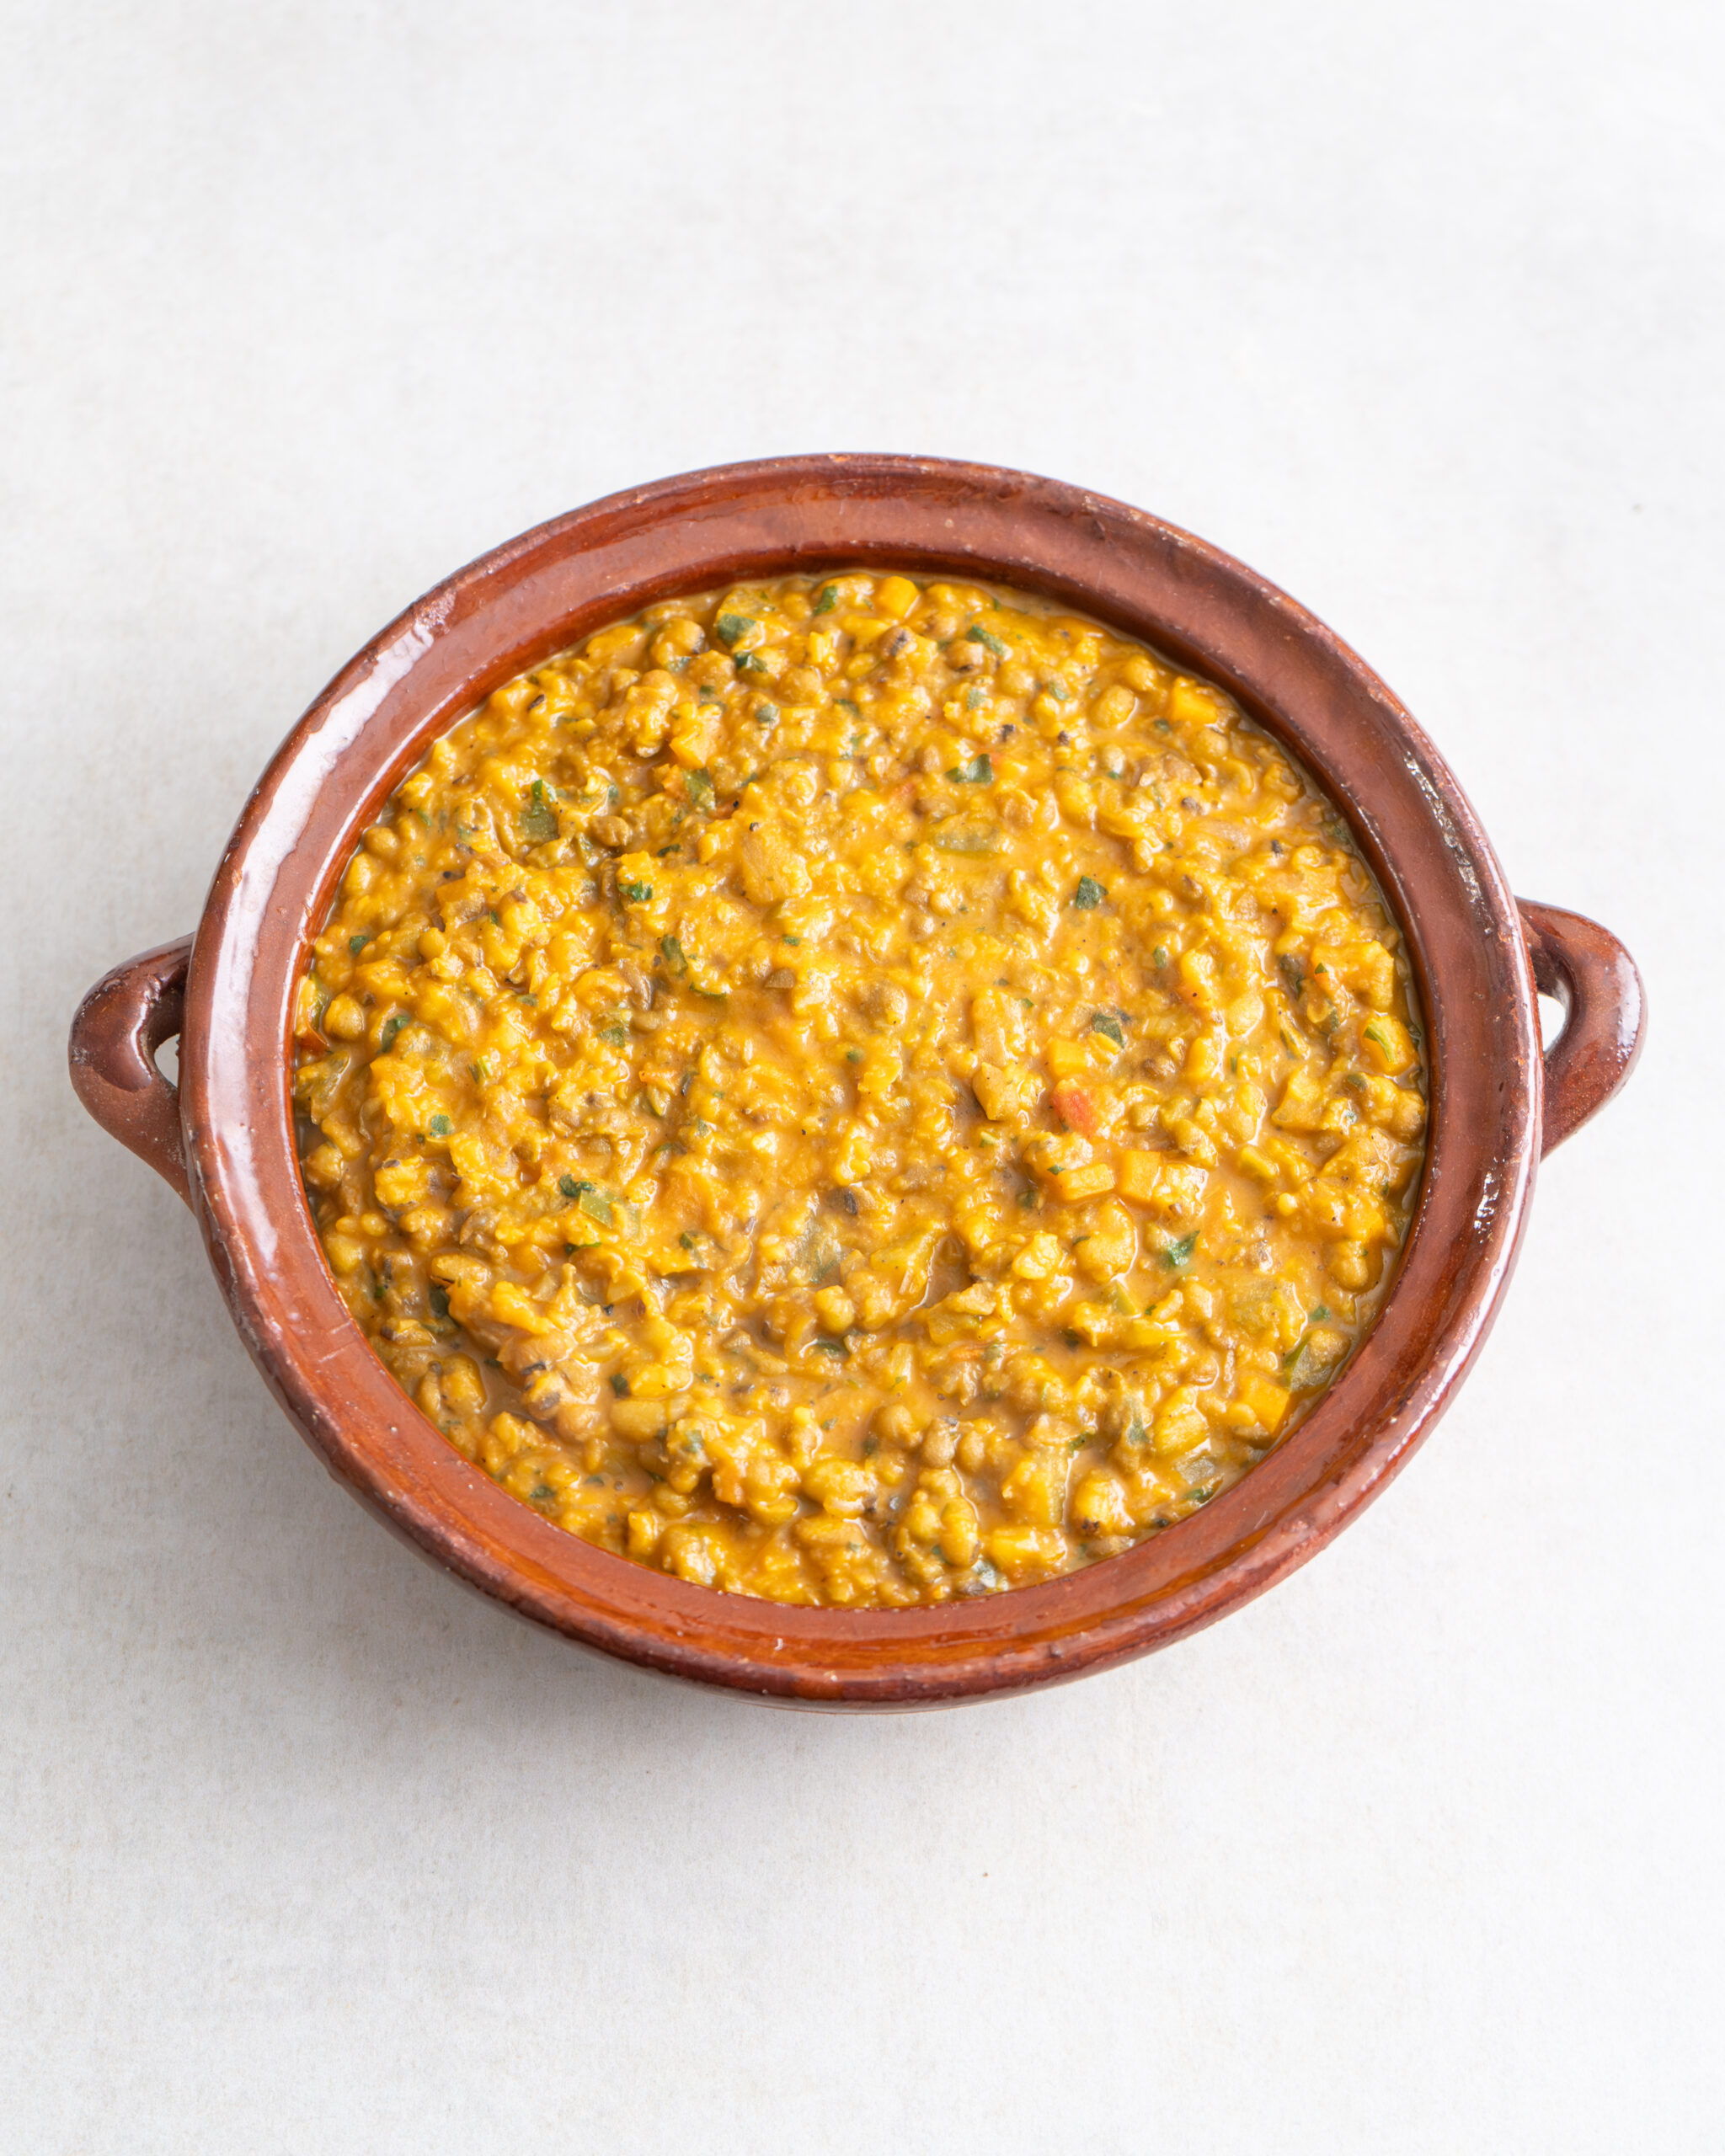
Start by making a batch of Cashew Ferment.
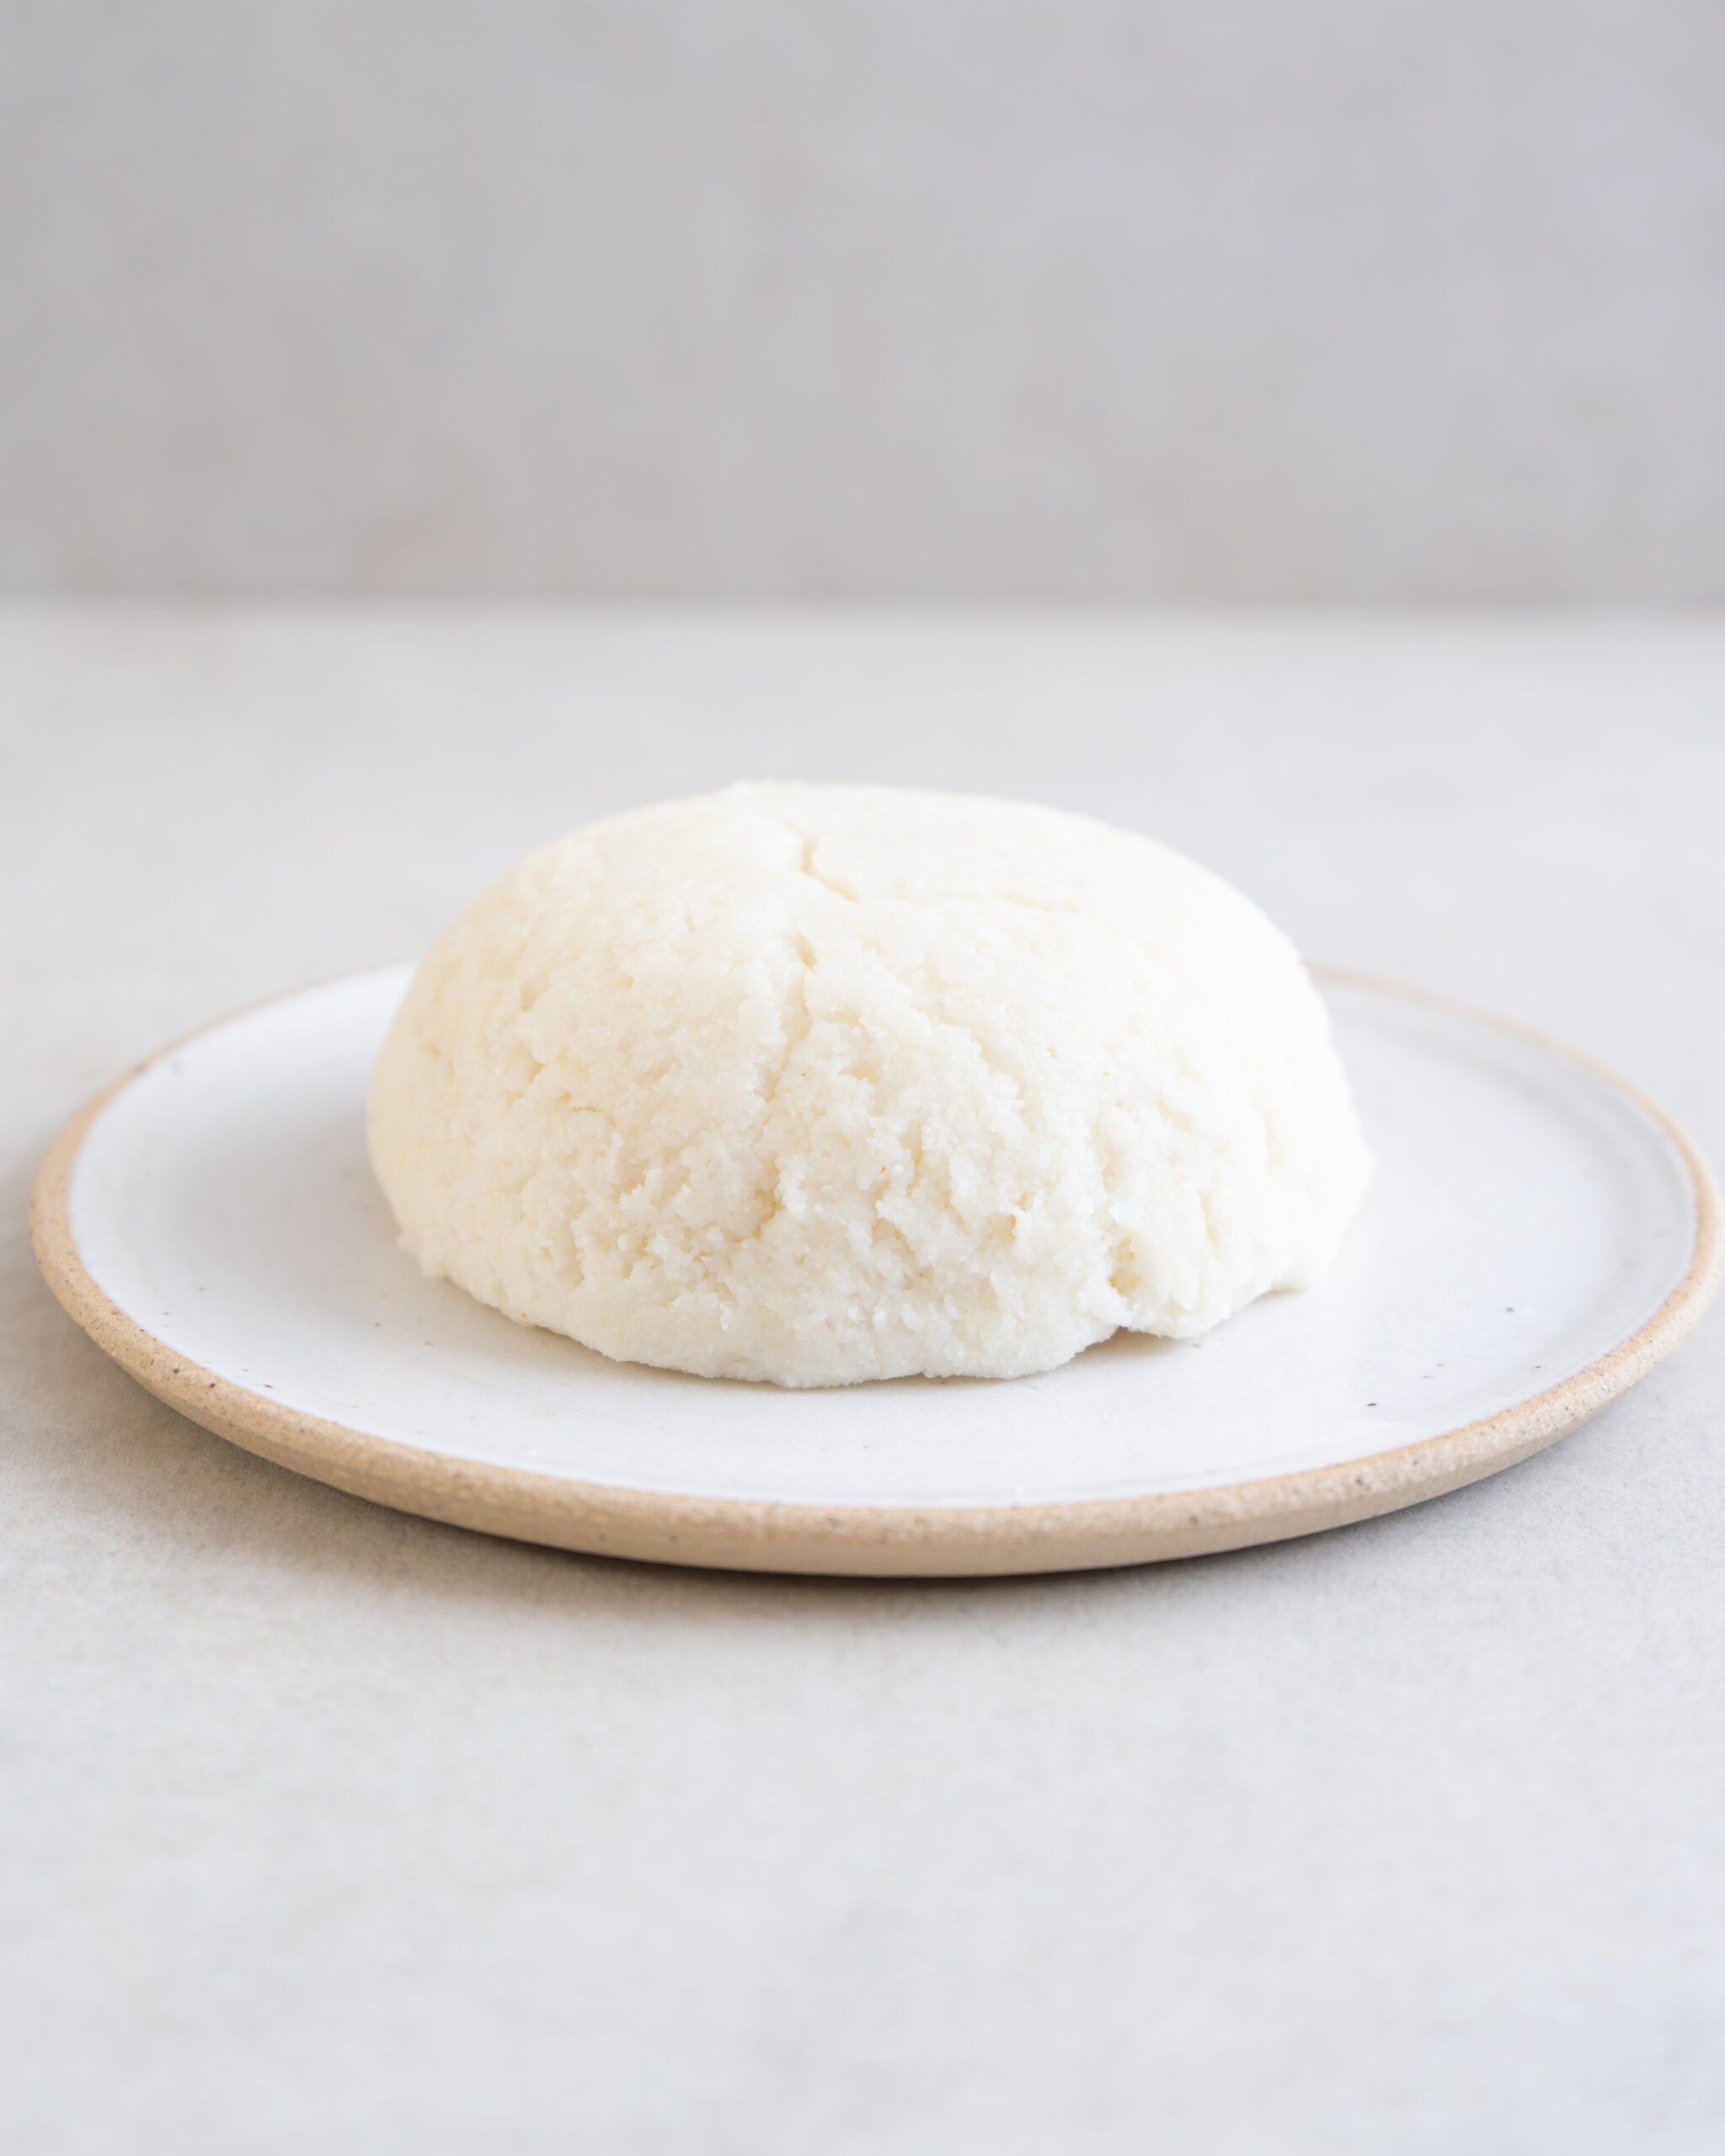
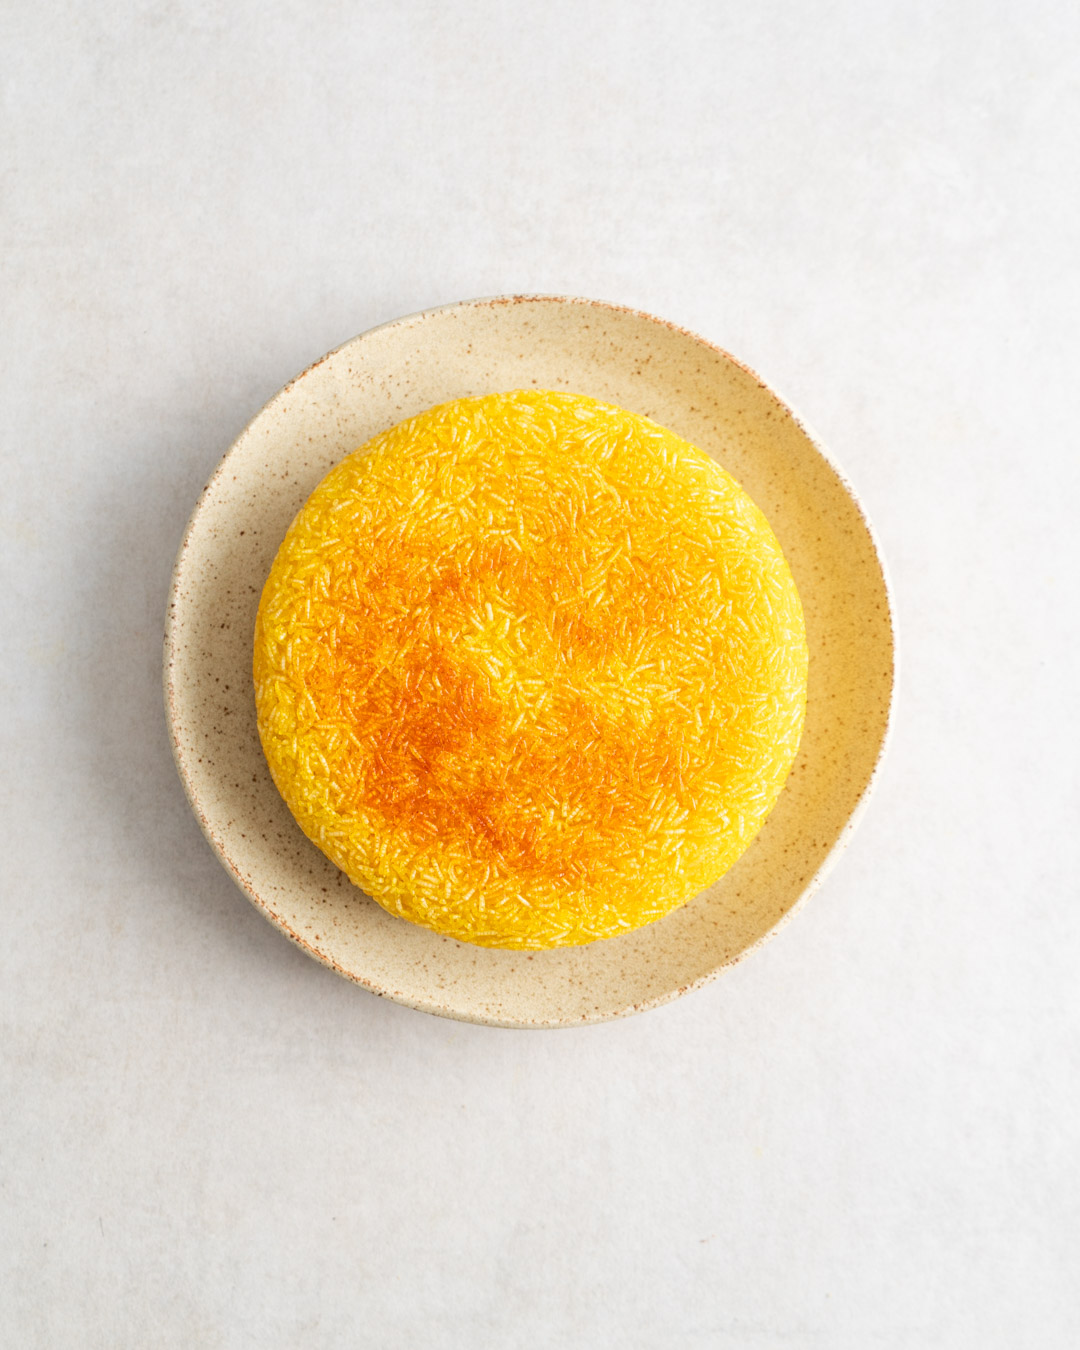
Once you’ve refrigerated the fermented cashews, lightly grease a cookie cutter (I used the 8 cm size of these) with olive oil, place it on a piece of baking paper and fill it about halfway with the cashew ferment, pressing it down with a spoon to create a smooth layer as you go. Gently lift to remove the cutter, then refrigerate the cashew ferment for 1-2 days if using the black pepper coating, or for 4-5 days if using the wild garlic coating. Make sure to turn the cylinder over every day to let it dry out evenly.
For the Black pepper, Sesame & Seaweed Coating, toast the black peppercorns in a small frying pan until aromatic. Transfer them to a pestle and mortar and grind into a coarse powder, then tip into a bowl and set aside. Now toast the black sesame seeds together with just a few white ones. As soon as the white seeds turn golden, tip the seeds into the bowl with the pepper. Lastly, toast the nori sheet. If you have a gas stove, hold the nori sheet with kitchen tongues 5 cm above a small flame turning it every few seconds until it begins to crisp up (around 15-20 seconds in total). You can also toast the nori sheet for 15 minutes in a 160°C pre-heated oven. Tear it into small pieces and add to a spice grinder, then pulse until broken down into the size of the sesame seeds or slightly larger. Add them to the bowl with the pepper and sesame seeds along with 1 tsp salt and mix to combine. Sprinkle some of the coatings onto a plate or chopping board. Remove the cashew cylinder from the fridge and place it onto the coating, then sprinkle a little more on top. Gently press the coating to make it stick and roll the sides of the cashew ferment to coat it evenly. Refrigerate for another 2 – 3 days, turning it every day, to firm up a little more, or slice into it immediately.
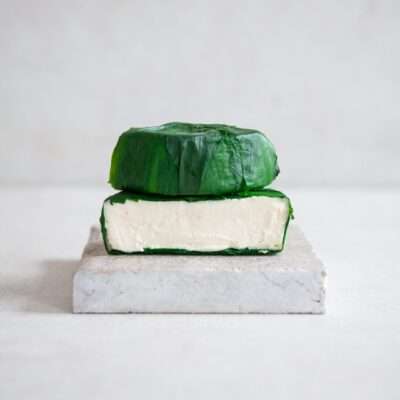
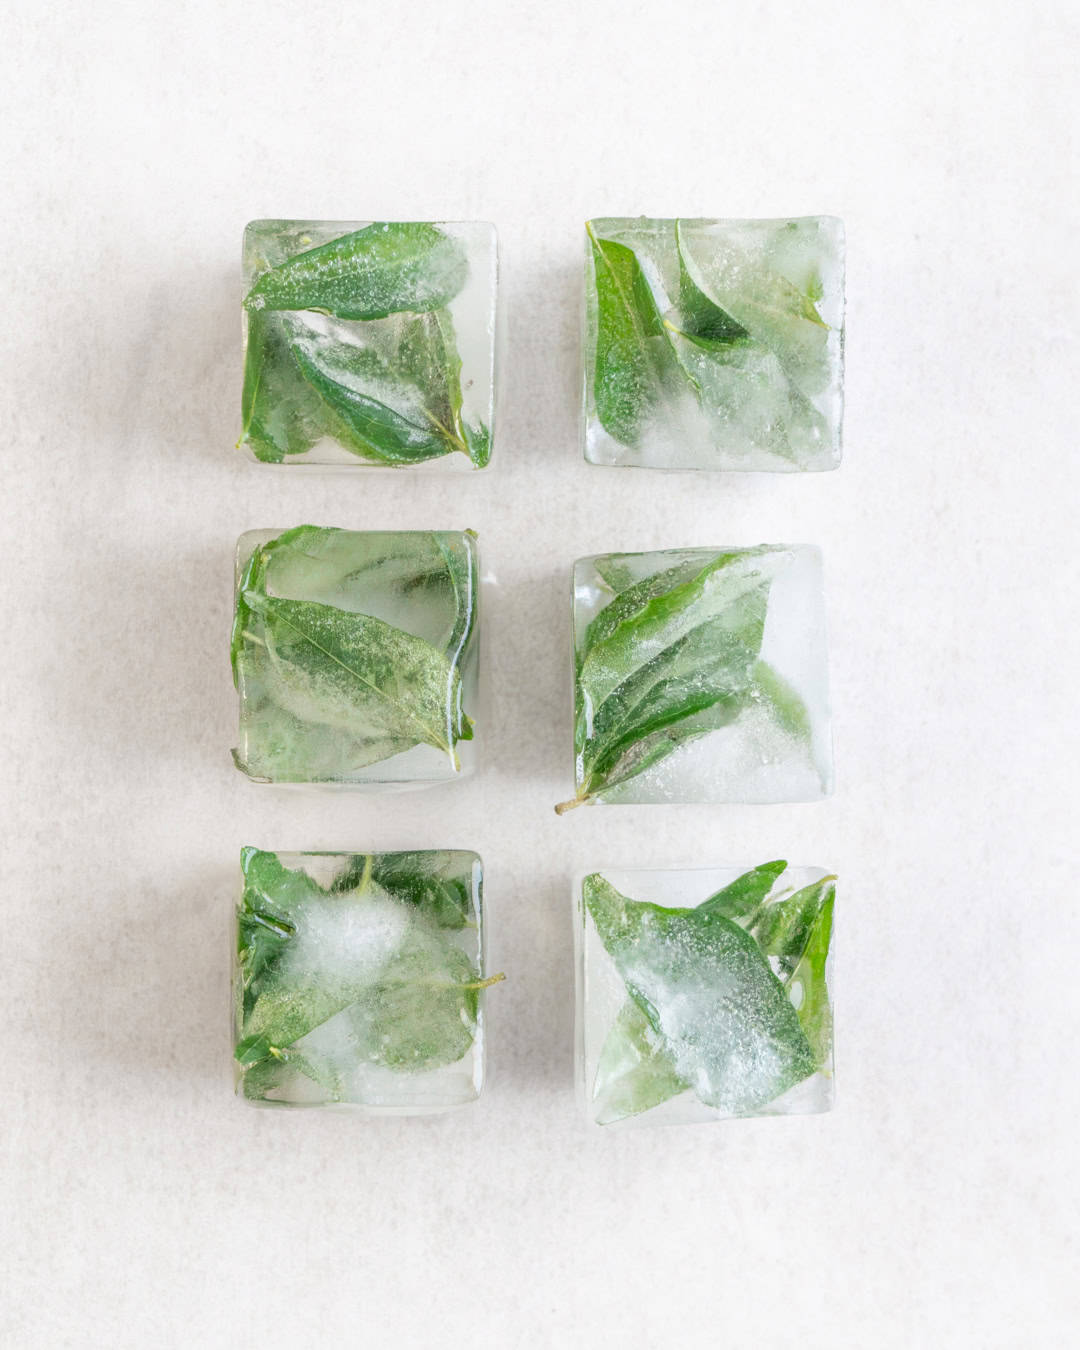
For the Wild Garlic Coating, trim the stems of the wild garlic, then blanch the leaves in seasoned boiling water for 30 seconds. Drain the leaves into a bowl of ice water, then drain them into a sieve or colander. Spread them out on a kitchen towel and pat dry, then lay a few leaves across each other, forming a star. Place the cashew cheese in the middle and fold over the wild garlic. Gently press them so that they stick to the cheese, then repeat on the other side and use any leftover leaves to fix the gaps. Eat the same day, as the leaves will turn brown over time.
Cashew Ferment 2.0
Ingredients
Cashew Ferment
Black Pepper, Sesame & Seaweed Coating
- 1 tbsp black pepper corns
- 1 tbsp black sesame seeds and a few white ones
- 1 nori sheet
Wild Garlic Coating
- 50 g wild garlic
Instructions
- Start by making a batch of Cashew Ferment.
- Once you’ve refrigerated the fermented cashews, lightly grease a cookie cutter (I used the 8 cm size of these) with olive oil, place it on a piece of baking paper and fill it about halfway with the cashew ferment, pressing it down with a spoon to create a smooth layer as you go. Gently lift to remove the cutter, then refrigerate the cashew ferment for 1-2 days if using the black pepper coating, or for 4-5 days if using the wild garlic coating. Make sure to turn the cylinder over every day to let it dry out evenly.
- For the Black pepper, Sesame & Seaweed Coating, toast the black peppercorns in a small frying pan until aromatic. Transfer them to a pestle and mortar and grind into a coarse powder, then tip into a bowl and set aside. Now toast the black sesame seeds together with just a few white ones. As soon as the white seeds turn golden, tip the seeds into the bowl with the pepper. Lastly, toast the nori sheet. If you have a gas stove, hold the nori sheet with kitchen tongues 5 cm above a small flame turning it every few seconds until it begins to crisp up (around 15-20 seconds in total). You can also toast the nori sheet for 15 minutes in a 160°C pre-heated oven. Tear it into small pieces and add to a spice grinder, then pulse until broken down into the size of the sesame seeds or slightly larger. Add them to the bowl with the pepper and sesame seeds along with 1 tsp salt and mix to combine. Sprinkle some of the coating onto a plate or chopping board. Remove the cashew cylinder from the fridge and place it onto the coating, then sprinkle a little more on top. Gently press the coating to make it stick and roll the sides of the cashew ferment to coat it evenly. Refrigerate for another 2 - 3 days, turning it every day, to firm up a little more, or slice into it immediately.
- For the Wild Garlic Coating, trim the stems of the wild garlic, then blanch the leaves in seasoned boiling water for 30 seconds. Drain the leaves into a bowl of ice water, then drain them into a sieve or colander. Spread them out on a kitchen towel and pat dry, then lay a few leaves across each other, forming a star. Place the cashew cheese in the middle and fold over the wild garlic. Gently press them so that they stick to the cheese, then repeat on the other side and use any leftover leaves to fix the gaps. Eat the same day, as the leaves will turn brown over time.


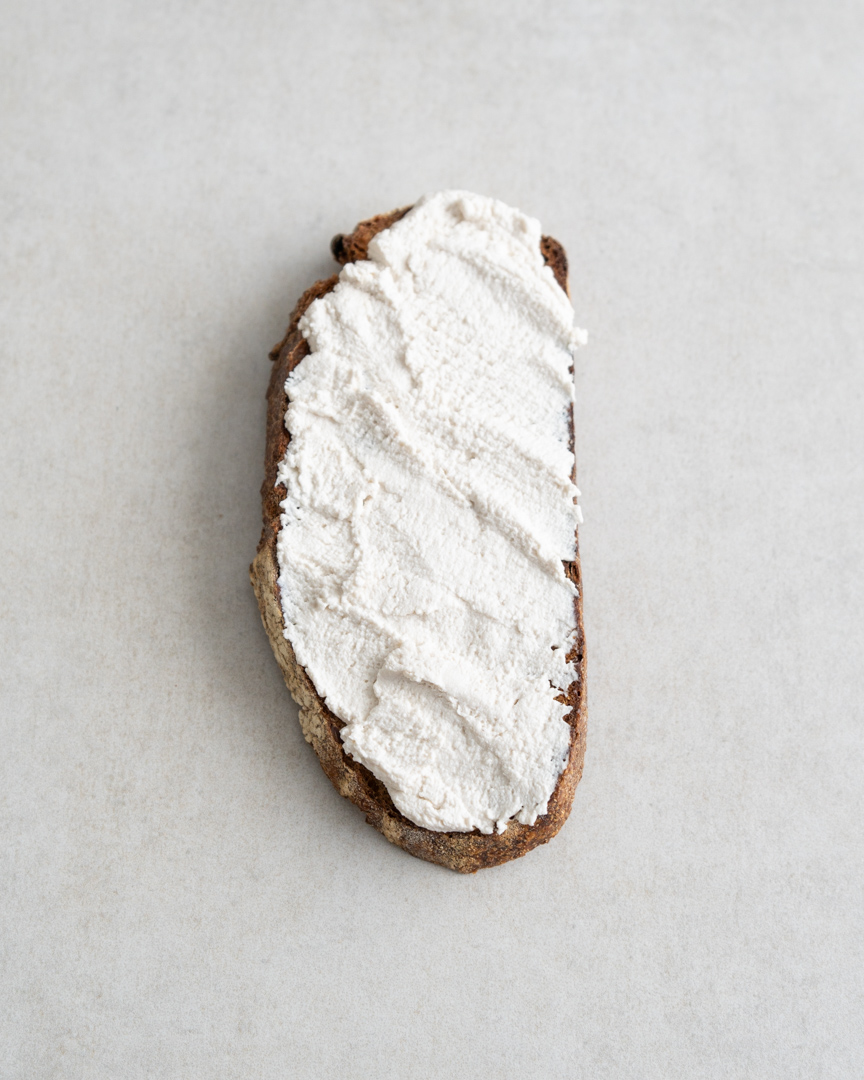


I’ve been making the cashew ferment since I discovered your recipe for it. I love it! I haven’t tried the toppings, but I put the ferment on bread and in salad dressings. I love changing up the flavors with dried herbs and nutritional yeast flakes. Thanks for this recipe! It’s so versatile!
That’s so wonderful to hear! Give the toppings a go, they are also a fun way to change the flavour. Great to hear how you used it so far!
Hi there! Do you think it’s possible to make this using non-pasteurized beer as a starter? I believe the flavor of the beer could really add to the cheesiness, but I’m afraid alcohol might kill the bacterias
Interesting! I think it should actually work. Would love to know how you got on.