
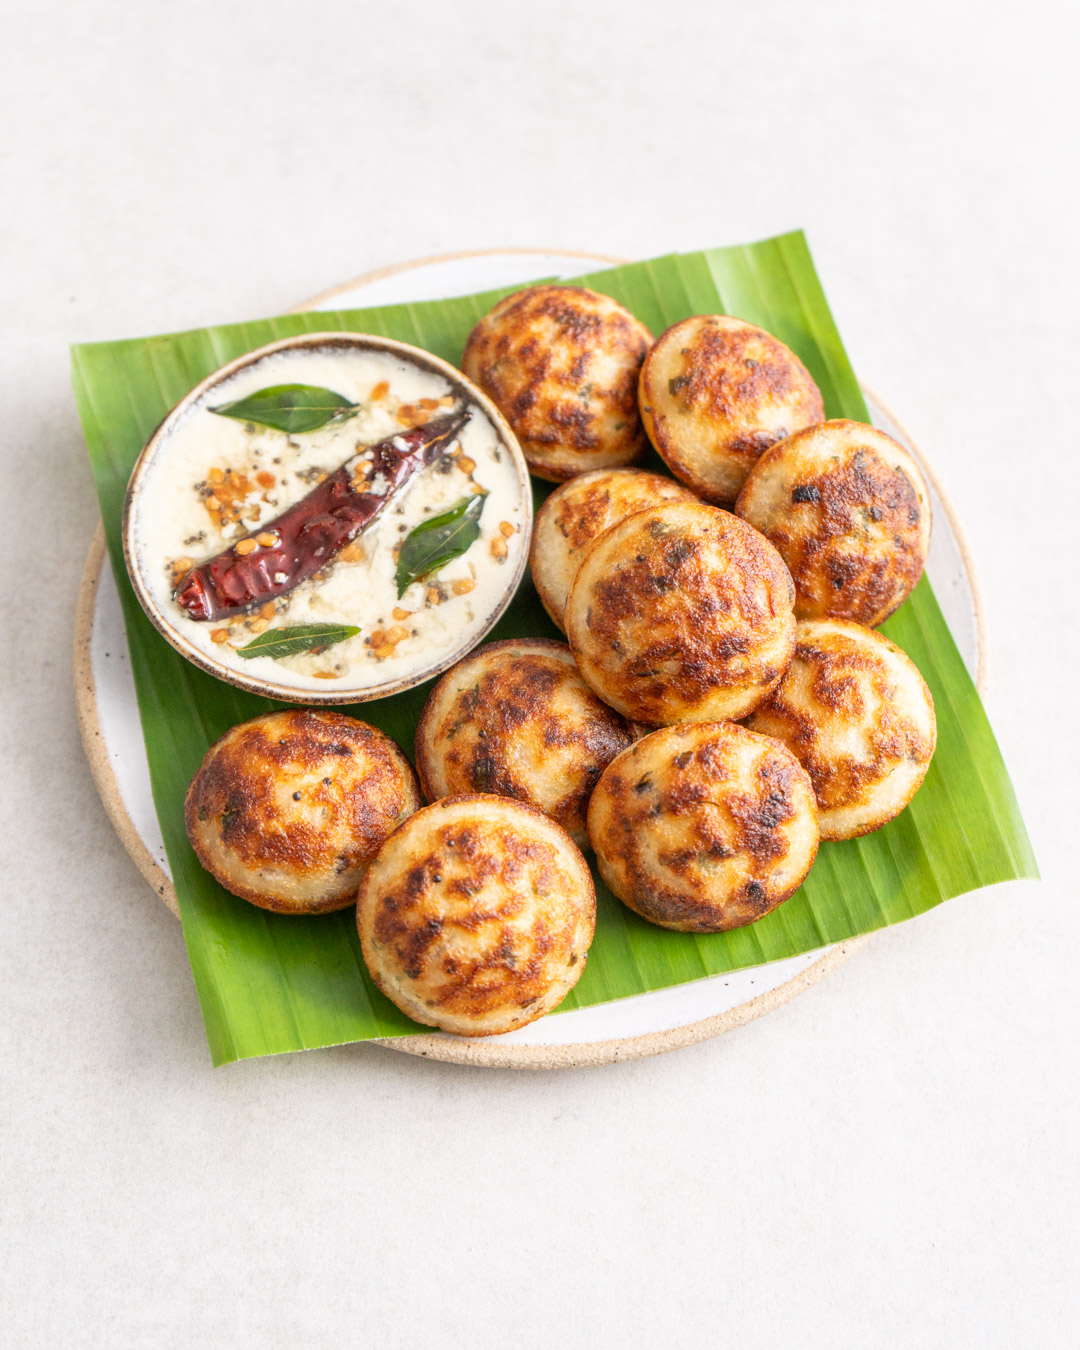
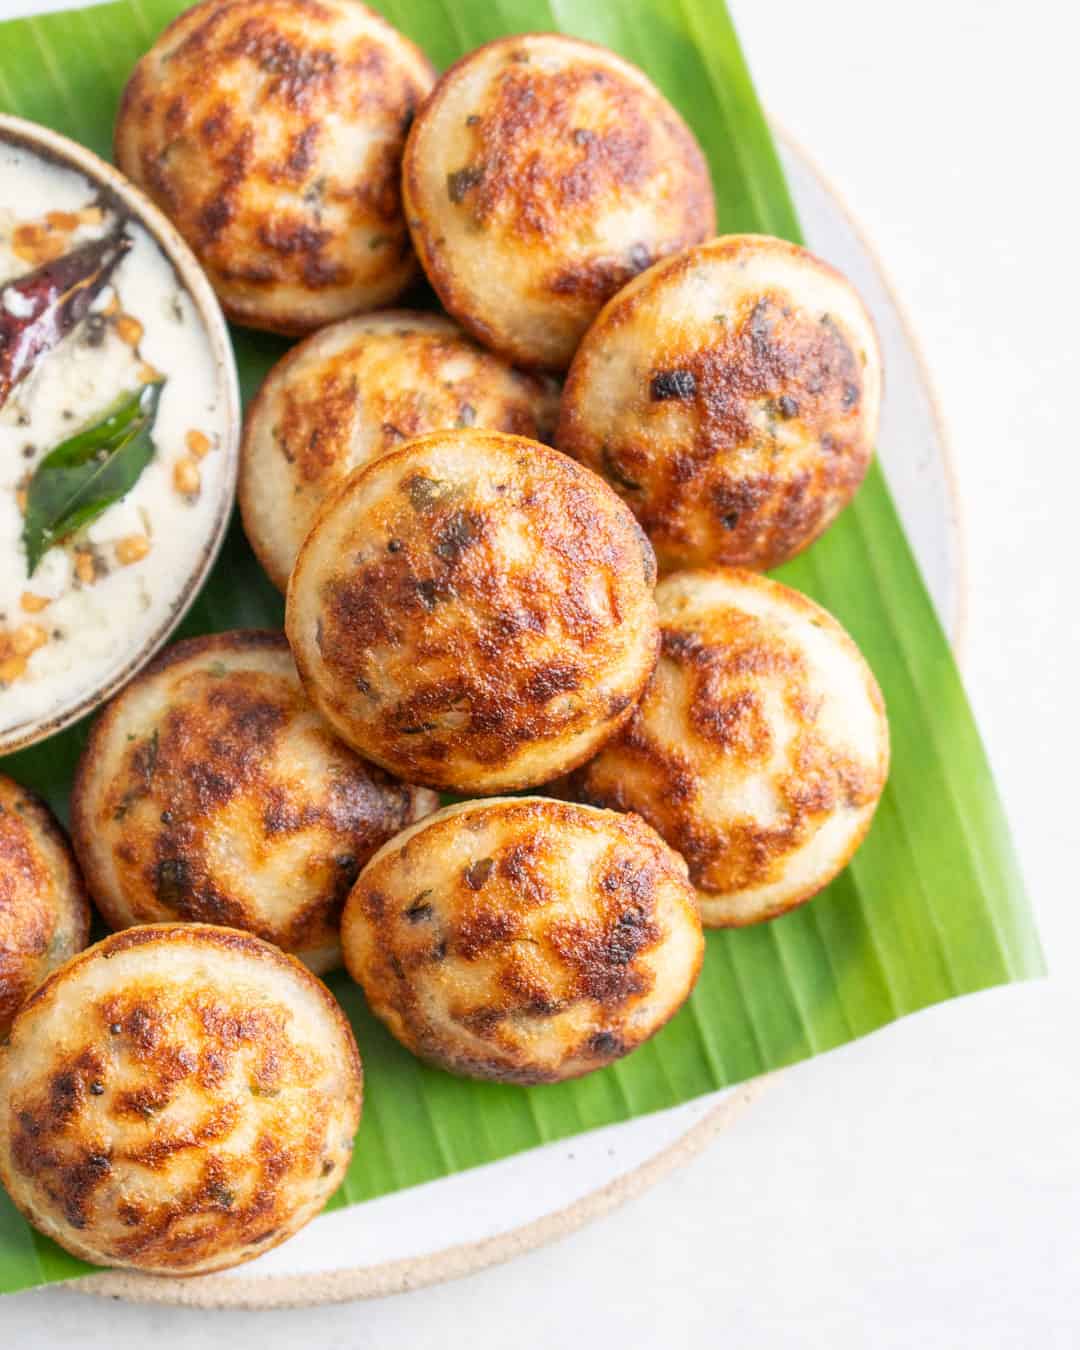
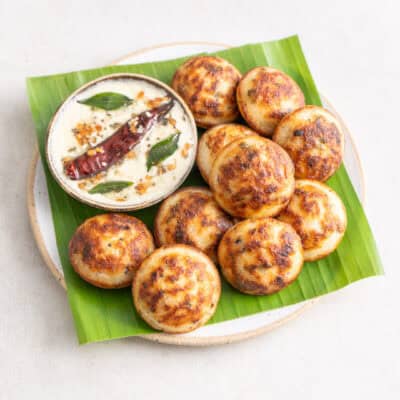
Kuzhi Paniyaram (Indian Crispy Lentil & Rice Balls)
Nowadays, it’s such a staple by itself that many homecooks will simply whip up a batter entirely dedicated to making paniyaram. They can’t be blamed. Kuzhi Paniyaram are crispy on the outside and fluffy on the inside, combining the best of both worlds in texture with the incredible flavour of a fermented idli batter.
What are Kuzhi Paniyaram?
Kuzhi Paniyaram, also known as Paddu or Appe, is a traditional South Indian dish made from fermented rice and urad dal (black gram) batter. It is similar to the batter used for Idli or dosa, and the preparation involves a specialised cooking method that I described below.
What do you need to make Kuzhi Paniyaram?
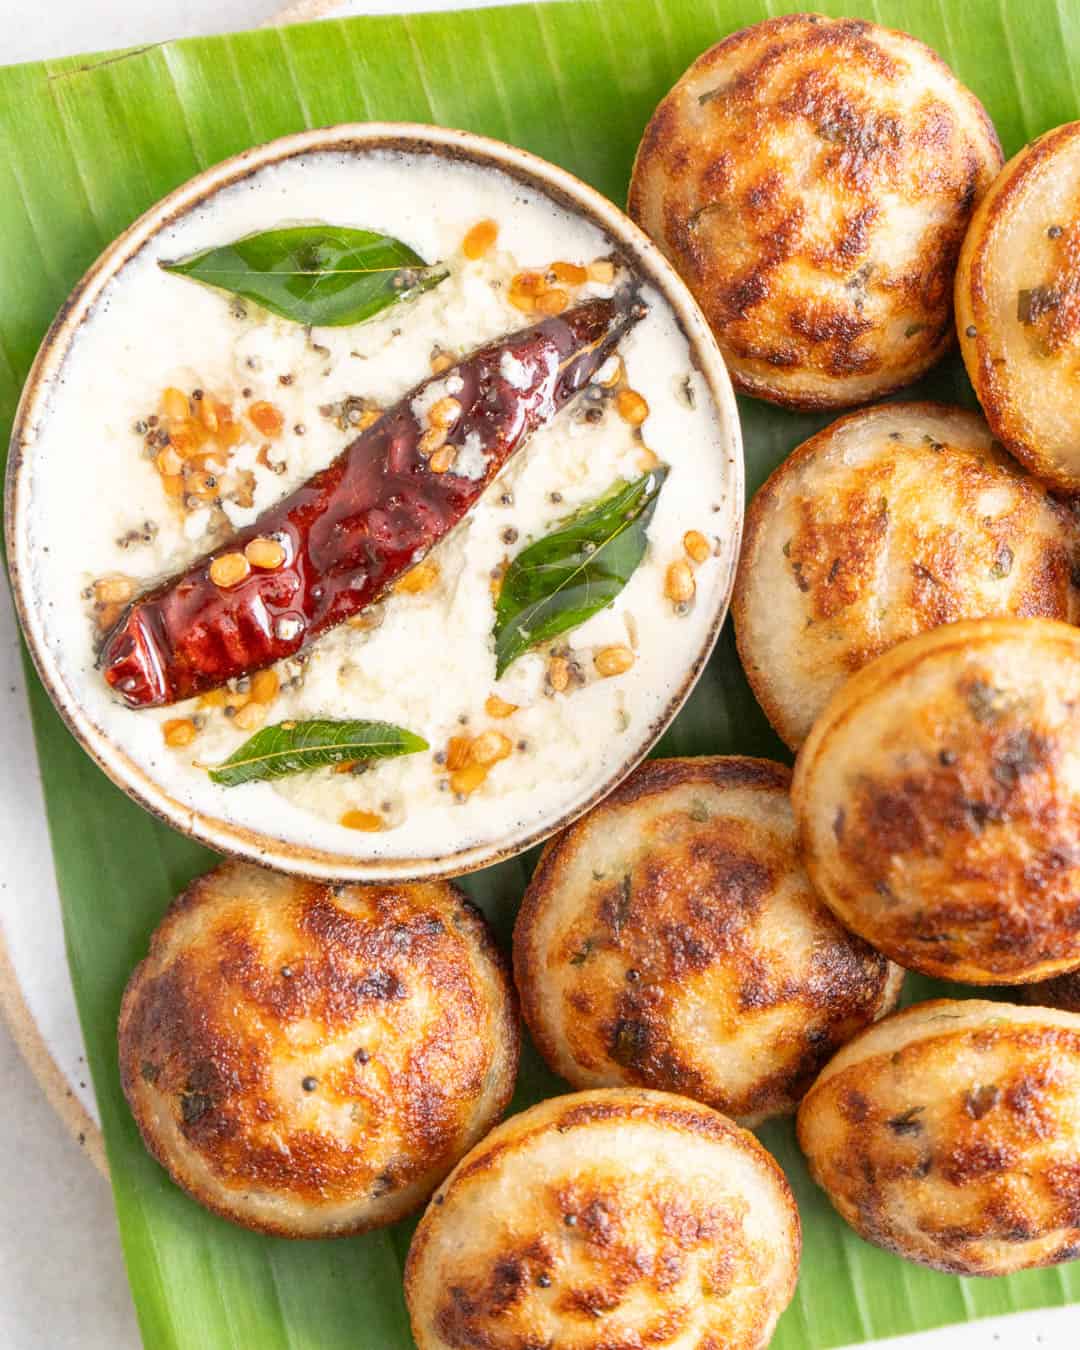
Paniyaram are essentially made from a Idli batter, so you will need to prepare a batch ahead. This can be made up to a few days in advance and stored in the fridge, but start the process at least the day before you want to eat the Paniyaram. Although they are delicious by themselves, they are also usually served alongside a chutney. I recommend this Coconut Chutney for a refreshing kick. The chutney can be made just before you fry the Paniyaram, or even while the Paniyaram tempering is cooling down.
In order to fry the Paniyaram, you will need a Paniyaram Pan. This is a special pan with cavities in which the batter is fried, similar to a poffertjes pan. Unfortunately, there’s no easy way to substitute the pan if you don’t have one, but you can also simply turn the batter into pancakes like Uttapam and fry them in a frying pan.
Are Kuzhi Paniyaram healthy?
Besides a pleasant tangy flavour, the fermentation process converts the carbohydrates and proteins in the batter into easier-to-digest forms and increases the bioavailability of certain nutrients, such as folate, iron and zinc. The batter itself is therefore often considered a healthy staple of the Indian diet. However, compared to Idli, which are steamed, Paniyaram are fried in oil. The addition of oil makes the recipe slightly less healthy, but it is still considered a balanced breakfast or snack. Depending on the non-stick quality of the pan you’re using, you don’t need to add much oil at all, although the oil will give the Paniyaram their golden colour and crispy texture.
Equipment & Ingredients for Kuzhi Paniyaram
Equipment
- High-Speed Blender (to make the Idli)
- Paniyaram Pan
Ingredients
- 1x Idli Batter
- 1 large red onion (200g)
- 2 green chillis
- 20g ginger
- 20-25 curry leaves (optional)
- 15g coriander
- 2 tbsp vegetable oil + extra for greasing
- 1 tsp urad dal
- 1/2 tsp mustard seeds
- 1/4 tsp asafoetida
- 3/4 tbsp salt (10g)
- Coconut Chutney to serve
How to make Kuzhi Paniyaram
The day before, follow steps 1-4 of the Idli recipe to make the batter.
The next day, at least 30 mins before making the Paniyaram, peel and finely chop the onion; finely slice the green chillies; peel and grate the ginger; roughly slice the curry leaves; discard the lower stems of the coriander and finely chop the rest. Heat the oil in a small frying pan over medium-low heat and add the urad dal and mustard seeds. Sauté until the dal is lightly golden, then add the onion and curry leaves and continue cooking until the onion turns translucent (3-4 mins). Stir in the ginger and chilli and cook for one minute more until aromatic, then add the asafoetida and turn off the heat. Transfer to a bowl, leave to cool and stir in the coriander. While it’s cooling, make the Coconut Chutney, if using.
To cook the Paniyaram, drizzle each cavity of a Paniyaram Pan with a little oil and pre-heat over medium-low heat. Gently mix the cooled tempering and salt (10g) into the batter, then add a small tablespoon of it to each cavity of the pan, filling it almost completely. Cover with a lid and cook for 2 minutes until the paniyaram have puffed up. Remove the lid and continue cooking for 2 minutes more or until they are golden underneath, then flip them over and cook until golden on the other side (3-4 minutes). Transfer to a bowl and continue with the rest of the batter. Serve warm alongside the Coconut Chutney.
Why You’ll Love This Recipe
- Fermented: the fermentation makes nutrients more bioavailable
- Crispy exterior, fluffy interior
- Naturally Vegan: Paniyaram just happen to be vegan
How to store Kuzhi Paniyaram
Paniyaram taste best fresh when they are still warm, crunchy and fluffy at the same time, so try to only cook as many paniyaram as you will eat and then simply store any leftover batter in the fridge. The batter can be refrigerated for up to 5 days. If you cooked too many paniyaram, store them in an airtight container for 2-3 days and re-heat with a little oil in the paniyaram pan until crispy.
**I receive a small commission from affiliate links on this page**
Kuzhi Paniyaram
Equipment
- 1 High-Speed Blender, (I use Vitamix E310)
Ingredients
- 1 x Idli Batter
- 1 large red onion (200g)
- 2 green chillis
- 20 g ginger
- 20-25 curry leaves (optional)
- 15 g coriander
- 2 tbsp vegetable oil + extra for greasing
- 1 tsp urad dal
- 1/2 tsp mustard seeds
- 1/4 tsp asafoetida
- 3/4 tbsp salt (10g)
- Coconut Chutney to serve
Instructions
- The day before, follow steps 1-4 of the Idli Recipe to make the batter.
- The next day, at least 30 mins before making the Paniyaram, peel and finely chop the onion; finely slice the green chillies; peel and grate the ginger; roughly slice the curry leaves; discard the lower stems of the coriander and finely chop the rest. Heat the oil in a small frying pan over medium-low heat and add the urad dal and mustard seeds. Sauté until the dal is lightly golden, then add the onion and curry leaves and continue cooking until the onion turns translucent (3-4 mins). Stir in the ginger and chilli and cook for one minute more until aromatic, then add the asafoetida and turn off the heat. Transfer to a bowl, leave to cool and stir in the coriander. While it's cooling, make the Coconut Chutney, if using.
- To cook the Paniyaram, drizzle each cavity of a Paniyaram Pan with a little oil and pre-heat over medium-low heat. Gently mix the cooled tempering and salt (10g) into the batter, then add a small tablespoon of it to each cavity of the pan, filling it almost completely. Cover with a lid and cook for 2 minutes until the paniyaram have puffed up. Remove the lid and continue cooking for 2 minutes more or until they are golden underneath, then flip them over and cook until golden on the other side (3-4 minutes). Transfer to a bowl and continue with the rest of the batter. Serve warm alongside the Coconut Chutney.
Fermented rice? How to do it? Having read that rice should always be cooked fresh. I’m puzzled. Not sure how to make the paniyaram.
Can you advise, please?
The full recipe card is at the bottom of this post. It’ll take you through all the steps. You blend the rice with other ingredients, let it it ferment and then still cook it in the pan. So the final result is definitely cooked!