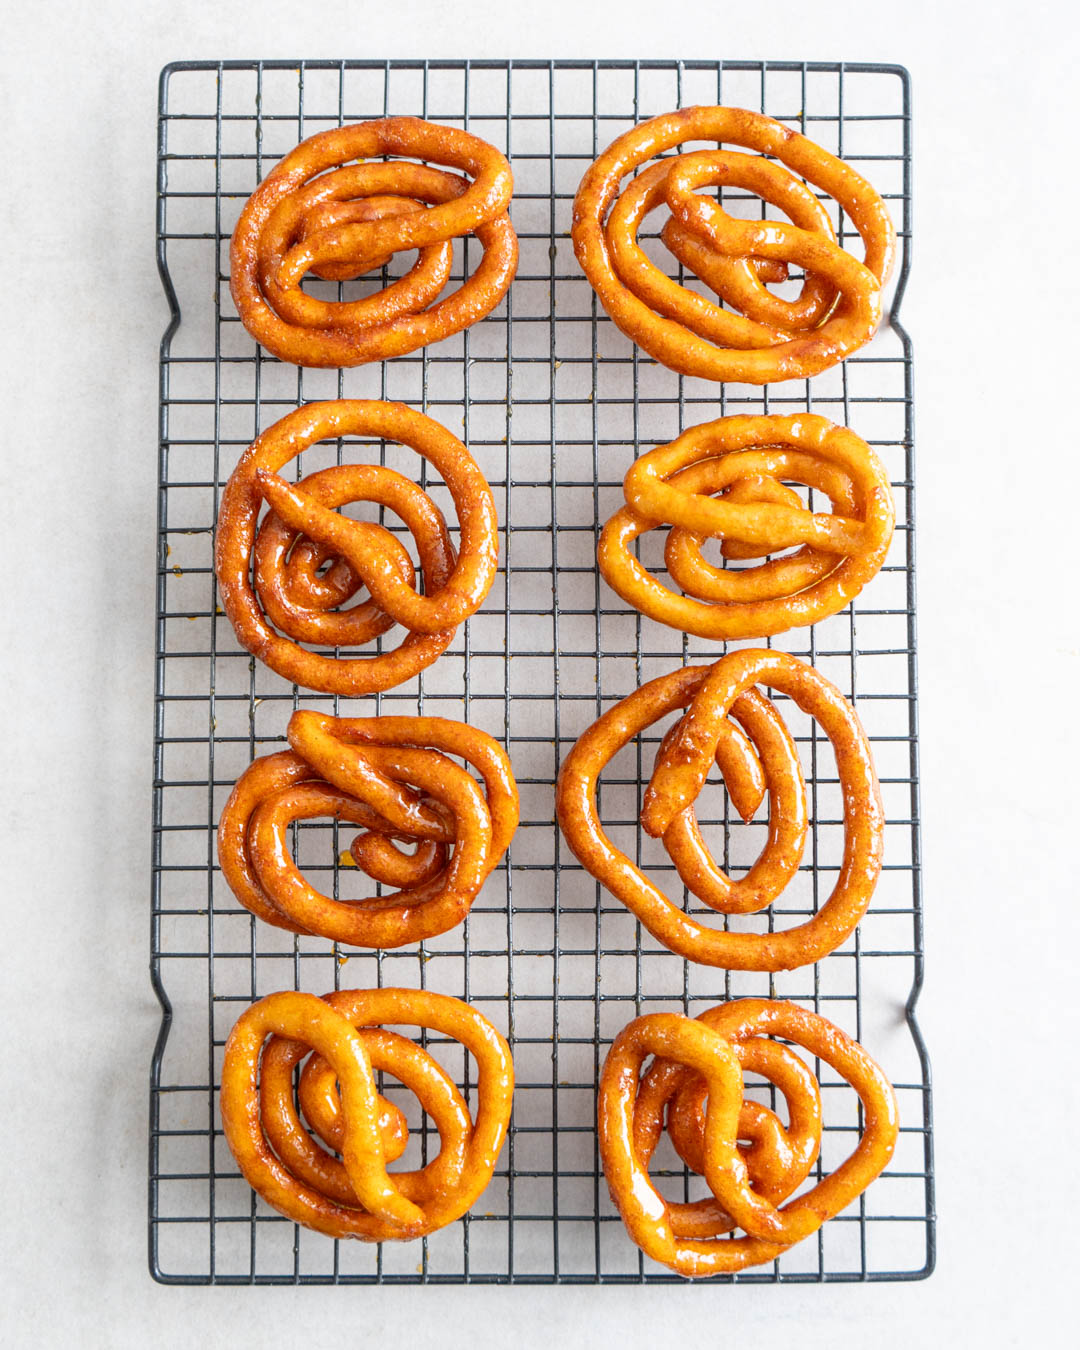
Sinking your teeth into Pani Walalu is a textural delight as much as it is a flavourful sensation. Crispy and sweet on the outside, soft and slightly savoury on the inside, these fermented urad dal sweets are an unusual but extremely satisfying treat. They are traditionally prepared for Sri Lankan New Year, which is celebrated on the 13th and 14th of April.
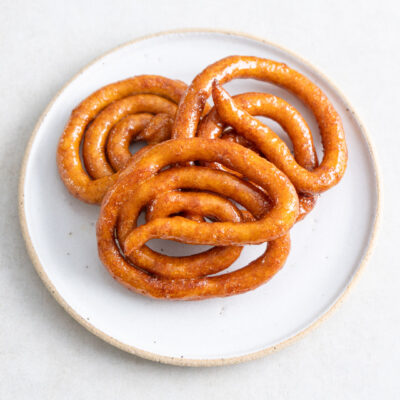
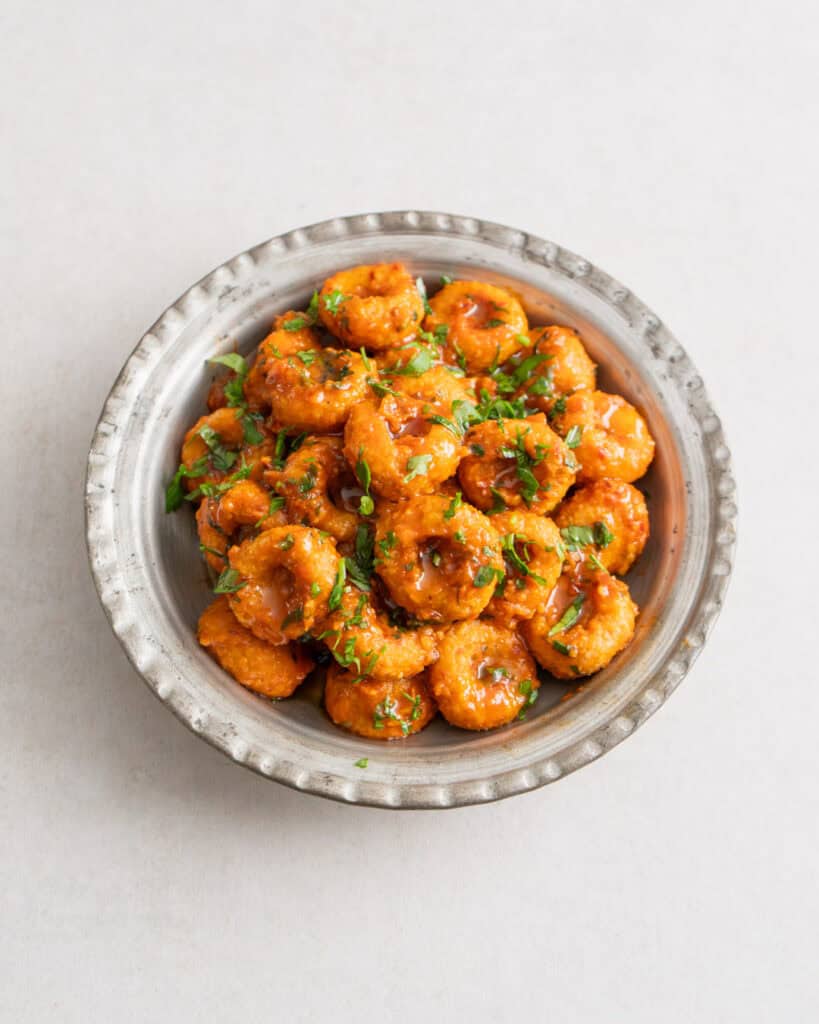
The preparation for Pani Walalu is somewhat unusual, considering that it is a sweet. They are made from fermented urad dal (husked & split black lentils) that are thickened with rice & plain flour and flavoured with thick coconut milk or cream. After frying them until golden and crispy, they are traditionally soaked in a Kithul (palm) syrup, but making your own syrup with jaggery is a good substitute. The result are dark golden rings in a glossy coating that are crispy and sweet on the outside and soft on the inside with a pleasant tanginess from the fermentation – a wonderful sweet that is traditionally vegan.
History of Pani Walalu
It is said that these sweets originated as a treat in royal palaces, but soon gained popularity among the aristocrats of Kandy. Since then they have long spread across most communities in Sri Lanka. The Sinhala community, in particular, considers Pani Walalu essential during their New Year festivities.
Tips for Fermenting the Batter
Fermenting the Pani Walalu batter can be a bit tricky, especially in colder climates, so here are a few tricks that helped me.
- Add the salt after the fermentation: Adding salt slows down fermentation, therefore only add it after the batter has fermented properly.
- Use your hands to mix the batter: The bacteria that naturally exist on our hands and in the air around us will kickstart the fermentation process.
- Keep the batter in a warm spot: You can place it in the oven with just the light switched on, which will heat up the oven to around 26°C.
Benefits of fermentation
Besides the pleasant tangy flavour, the fermentation process converts the carbohydrates and proteins in the batter into easier-to-digest forms and increases the bioavailability of certain nutrients, such as folate, iron and zinc.
Batter Consistency
The soaked dal needs to be blended into a thick paste with as little water as possible. Most recipes don’t use any water at all! A stone grinder or high-speed blender are the best options for this. I use my Vitamix E310. After adding the rice and plain flour, you should have a stiff batter that doesn’t fall off a spoon when lifted up. Once fermented, it will aerate and when you add the coconut cream it will loosen into a spreadable paste. At this point, it still shouldn’t be runny and only barely fall off from a spoon when lifted up.

Makes 8-10
Ingredients
Batter
- 200g urad dal
- 50g rice flour
- 50g plain flour
- 1/2 tsp salt
- 1/2 tsp baking soda
- 2 tbsp coconut cream (40g)
- 1l vegetable oil for deep frying
Syrup
- 350g jaggery
- 125 ml water
- 1/8 tsp salt
- a few drops of lemon juice
Method
Soak the urad dal in at least 1l of water overnight.
The next day, drain the dal and blend it into a smooth paste adding as little water as possible (75-125 ml). I use my Vitamix E310 for this.
Pour the paste into a bowl and mix in the rice and plain flour with your hands. Cover the bowl with a plate and leave the paste to ferment in a warm place (for instance the oven with just the light switched on) for 8-24 hours until it has risen into a dome shape, smells tangy and looks aerated if you scrape the top layer.
When the batter is ready, roughly chop the jaggery and add it to a separate pan along with the water, salt and lemon juice (the acidity of the lemon stops any of the sugar from crystallising). Heat it until the jaggery is completely melted, then keep warm over low heat. It shouldn’t be boiling or the syrup will thicken too much, so it might be a matter of turning the heat off every now and then. Meanwhile, add the salt and baking soda to the batter along with 1-2 tbsp of the coconut cream until you have a thick, slow-pouring paste. It shouldn’t be runny.
Pour enough of the oil into a frying pan to reach around 3-4 cm, then heat it to 190°C (if you don’t have a thermometer, place the end of a wooden spoon into the oil; bubbles should form around the wood if it’s hot enough).
Transfer the batter to a piping bag. Alternatively, you can use any plastic bag you have and simply cut off a 1.25 cm corner. Then pipe a thick coil of the batter directly into the oil. It should first sink to the bottom and rise to the surface after a few seconds. If it gets stuck to the bottom of the pan, increase the temperature of the oil before continuing. Fry the Pani Walalu until golden brown (1-2 mins), carefully turn it over and fry until golden on the other side (1-2 mins). Transfer directly into the syrup and leave to soak for around 10 seconds, then remove onto a rack before you continue with the rest of the batter. If the pan is wide enough, you can fry more than one at a time, but make sure they don’t overlap. Serve warm.
Storage: Pani Walalu are best eaten fresh, as they will go stale within a few hours.
**I receive a small commission from affiliate links on this page**
Pani Walalu (Sri Lankan New Year Sweet)
Ingredients
Batter
- 200 g urad dal
- 50 g rice flour
- 50 g plain flour
- 1/2 tsp salt
- 2 tbsp coconut cream (40g)
- 1/2 tsp baking soda
- 1 l vegetable oil for deep frying
Syrup
- 350 g jaggery
- 125 ml water
- 1/8 tsp salt
- a few drops of lemon juice
Instructions
- Soak the urad dal in at least 1l of water overnight.
- The next day, drain the dal and blend it into a smooth paste adding as little water as possible (75-125 ml). I use my Vitamix E310 for this.
- Pour the paste into a bowl and mix in the rice and plain flour with your hands. Cover the bowl with a plate and leave the paste to ferment in a warm place (for instance the oven with just the light switched on) for 8-24 hours until it has risen into a dome shape, smells tangy and looks aerated if you scrape the top layer.
- When the batter is ready, roughly chop the jaggery and add it to a separate pan along with the water, salt and lemon juice (the acidity of the lemon stops any of the sugar from crystallising). Heat it until the jaggery is completely melted, then keep warm over low heat. It shouldn't be boiling or the syrup will thicken too much, so it might be a matter of turning the heat off every now and then. Meanwhile, add the salt and baking soda to the batter along with 1-2 tbsp of the coconut cream until you have a thick, slow-pouring paste. It shouldn’t be runny.
- Pour enough of the oil into a frying pan to reach around 3-4 cm, then heat it to 190°C (if you don’t have a thermometer, place the end of a wooden spoon into the oil; bubbles should form around the wood if it’s hot enough).
- Transfer the batter to a piping bag. Alternatively, you can use any plastic bag you have and simply cut off a 1.25 cm corner. Then pipe a thick coil of the batter directly into the oil. It should first sink to the bottom and rise to the surface after a few seconds. If it gets stuck to the bottom of the pan, increase the temperature of the oil before continuing. Fry the Pani Walalu until golden brown (1-2 mins), carefully turn it over and fry until golden on the other side (1-2 mins). Transfer directly into the syrup and leave to soak for around 10 seconds, then remove onto a rack before you continue with the rest of the batter. If the pan is wide enough, you can fry more than one at a time, but make sure they don’t overlap. Serve warm.

0 Comments