")
When it comes to pita, many know them stuffed with falafel, tahini sauce and chopped salad. It’s a common street food in many parts of the Middle East, but the most popular version is often found in Israel, where the pitas are even fluffier to give you a large, soft pocket that begs to be filled. If you’d like to go for the fluffier version, fear not, you can still use the same recipe and make some small adjustments. To see how, check out the Tips below.
What is Pita?
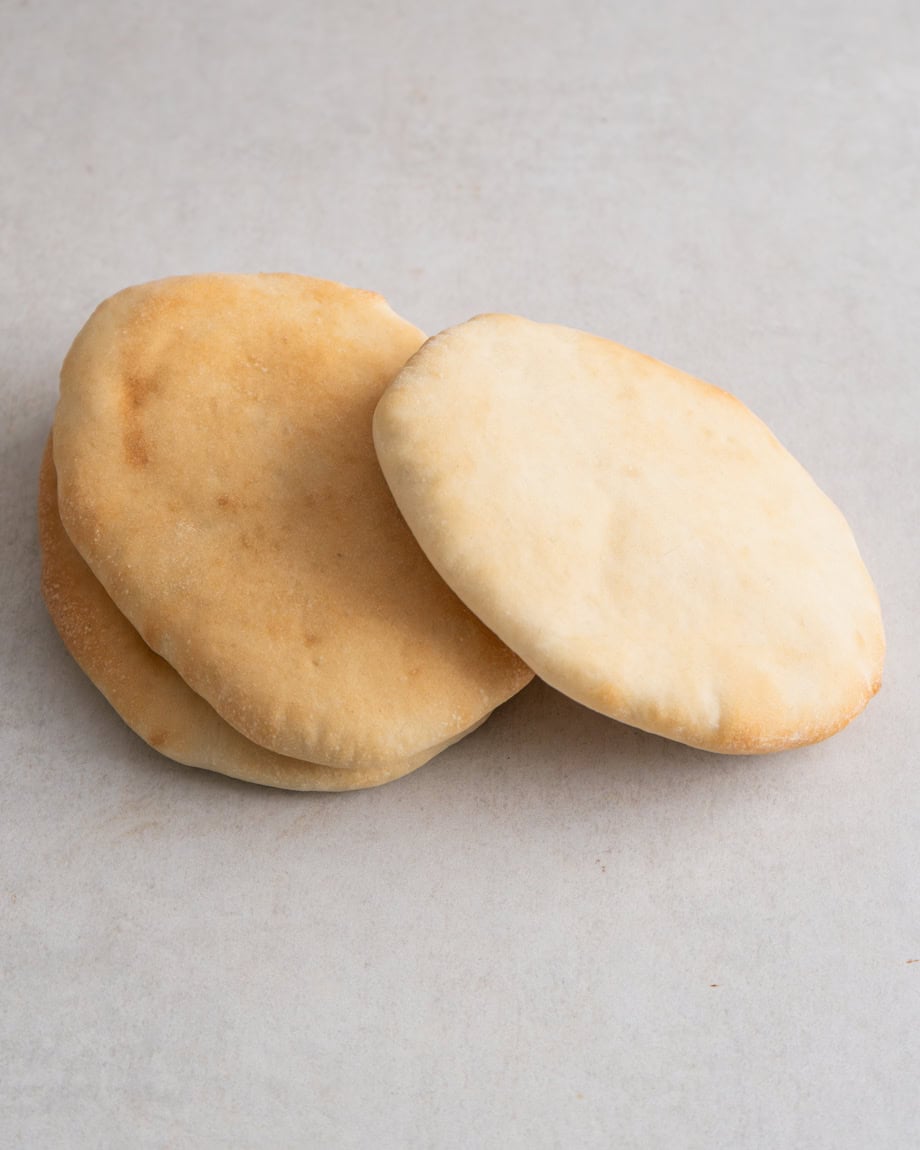
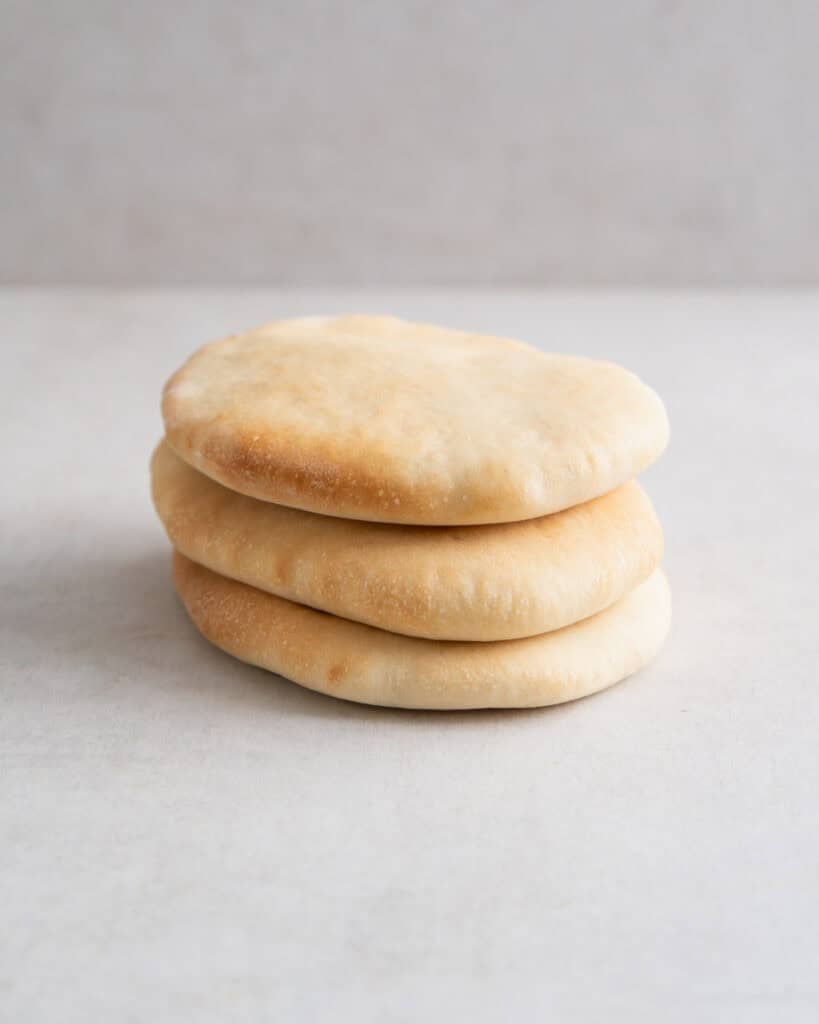
Pita is a type of soft, leavened flatbread that originated in the Middle East. Recognizable by its puffy, pocket-like appearance, pita is made from simple ingredients like flour, water, yeast, oil and salt. When baked, the dough puffs up, creating a hollow interior that can be sliced open and filled with a variety of delicious ingredients. It’s a versatile bread that’s perfect for stuffing and pairing with dips.
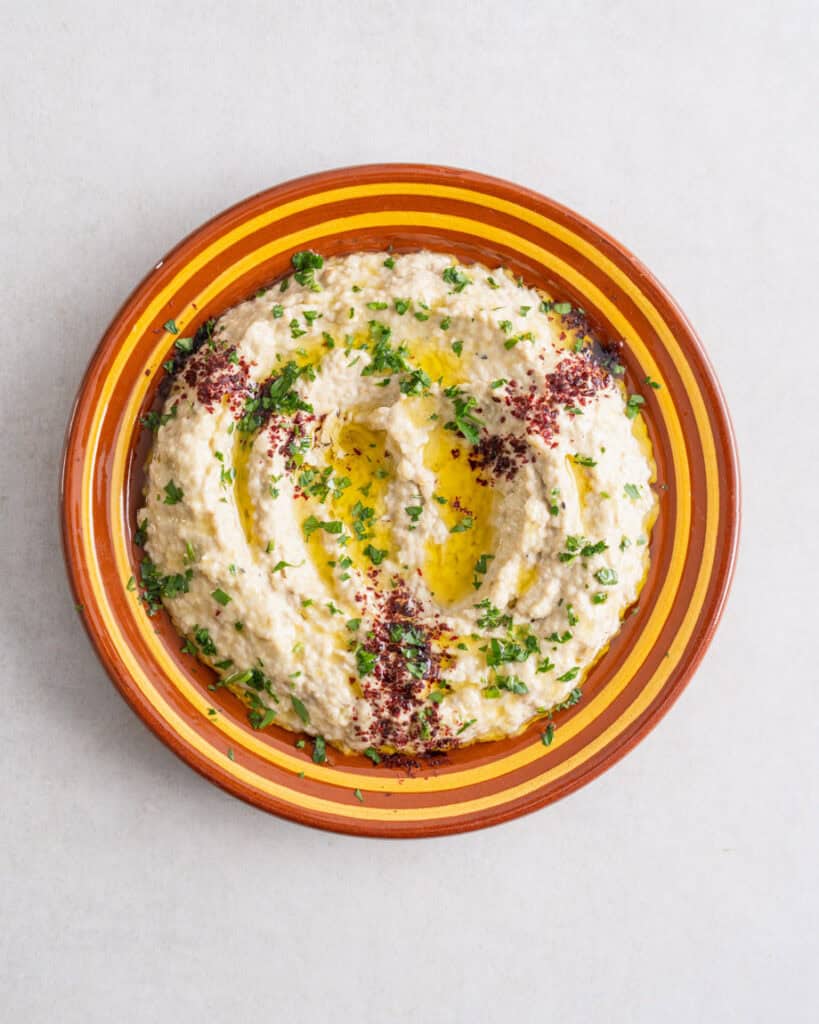
Pita has a rich history that dates back thousands of years, making it one of the oldest known breads. Originating in the Middle East, pita was a staple in ancient civilizations like Mesopotamia and Egypt, where it was baked on hot stones or in clay ovens. Over time, it spread throughout the Mediterranean and beyond, becoming a beloved bread in many cultures. Its unique ability to form a pocket made it perfect for on-the-go meals, and it has been a popular choice for sandwiches or scooping up savory dips like hummus or mutabal. The enduring appeal of pita lies in its simplicity, versatility and the way it seamlessly integrates into various cuisines.
Ingredients You’ll Need & How to Substitute
Making pita at home requires just a handful of basic ingredients, most of which you likely already have in your pantry. Here’s what you’ll need:
- Flour: Bread flour works best, giving the pita a strong gluten structure that allows it to expand in the oven. You can also substitute half of the bread flour with whole wheat flour for a heartier version with an even richer flavor. Just remember that you’ll need to add a little bit more water to the dough.
- Yeast: Try fresh yeast for a richer flavor, but instant yeast or active dry yeast also give delicious and reliable results.
- Salt: Adds flavor to the dough and stabilizes the gluten.
- Olive Oil (optional): Adds a bit of richness to the dough, making the pita softer. If you choose to skip it, just add a little bit more water instead.
How to make Pita (step-by-step)
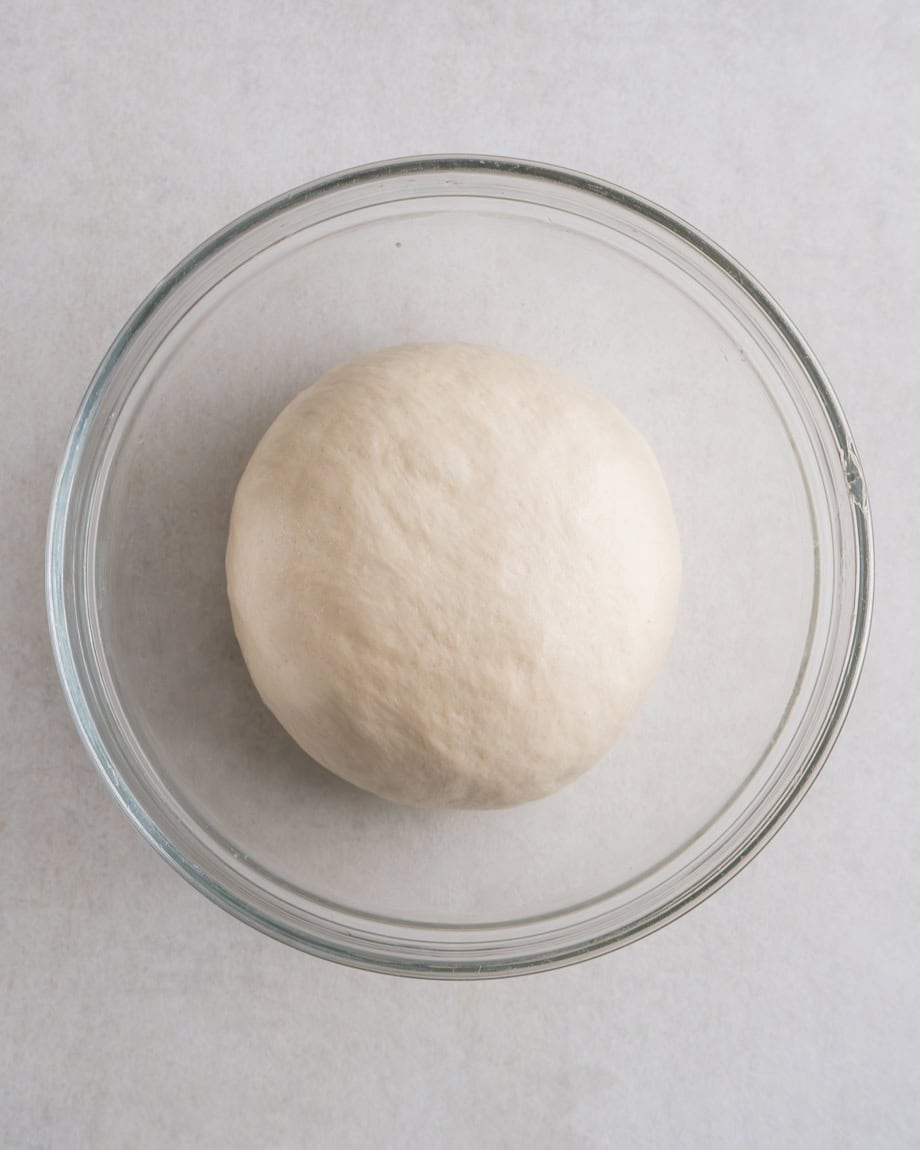
Make the Dough. Crumble the yeast into a large bowl. Add the sugar, olive oil and 210ml of lukewarm water and whisk to dissolve the yeast. Add the flour and salt and use your hands to mix everything into a rough dough. Transfer the dough to a work surface, cover it with the bowl placed upside down and let it rest for 5 minutes, which will kickstart the gluten development. Then knead it for 10 minutes until smooth and elastic.
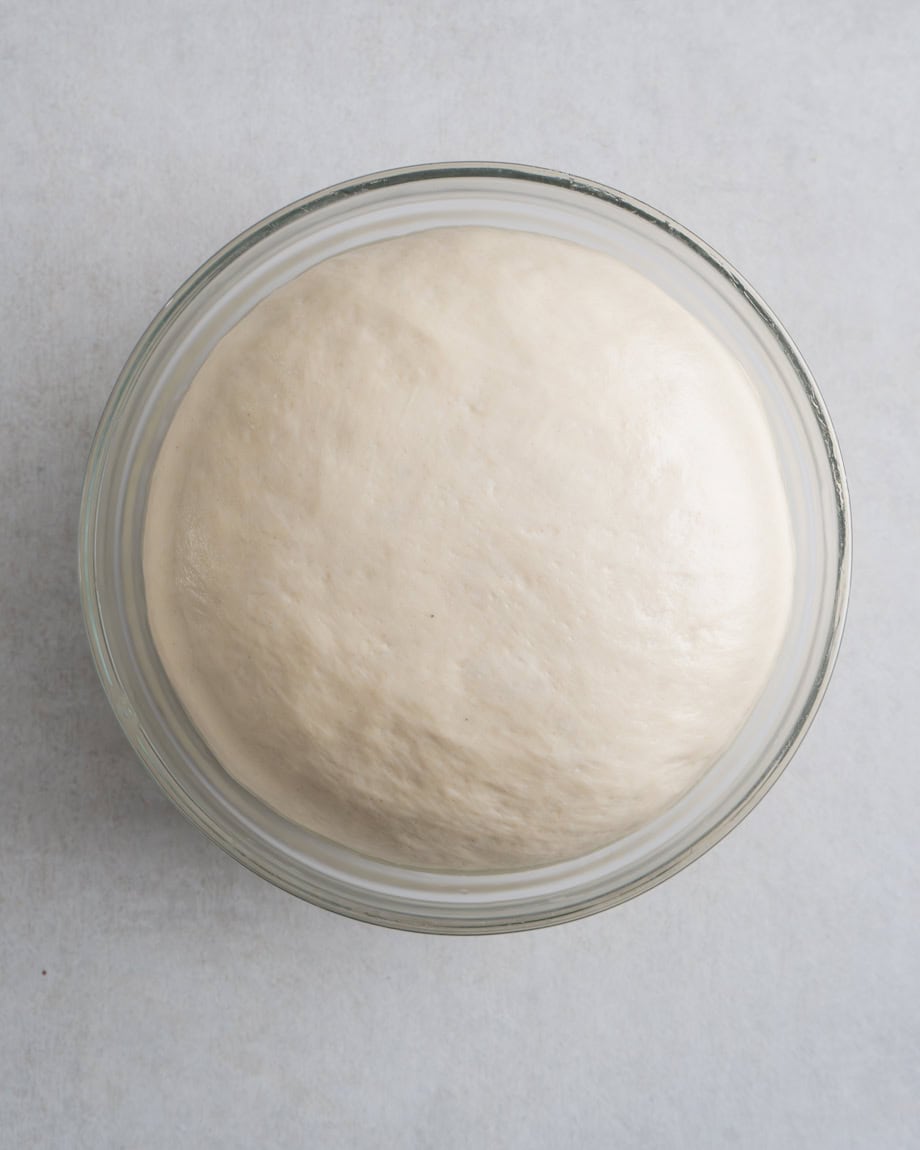
First Rise. Shape the dough into a large ball, grease a clean bowl with a little oil and place the dough inside. Cover it with a reusable plastic bag or a damp kitchen towel and leave to double in size for around 30-60 minutes (depending on ambient temperature).
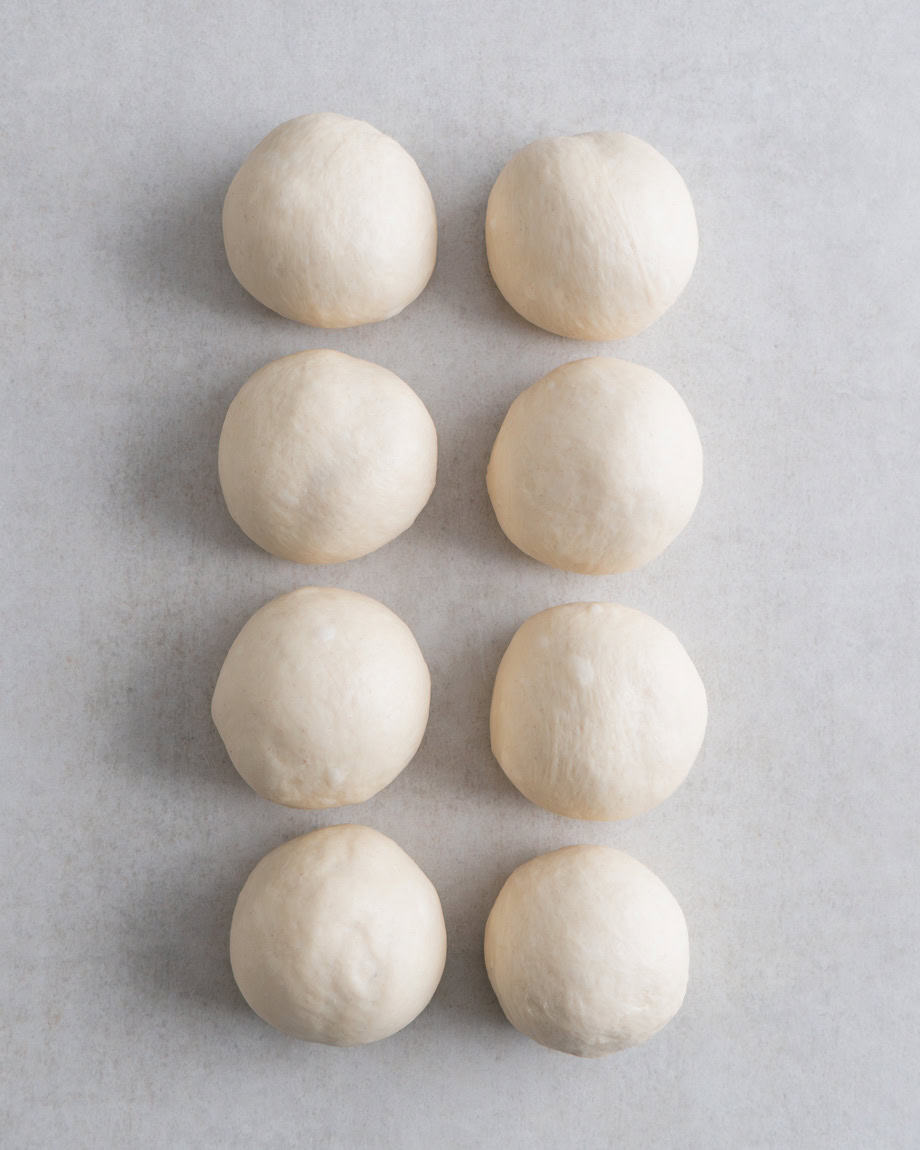
Shape the Pitas. Return the dough to the work surface and divide it into 8 pieces (80-85g each). Then shape each piece into a ball by tucking the edges underneath before stretching it over the work surface in circular movements with one hand. You want to create a smooth surface across the dough. Cover the balls again.
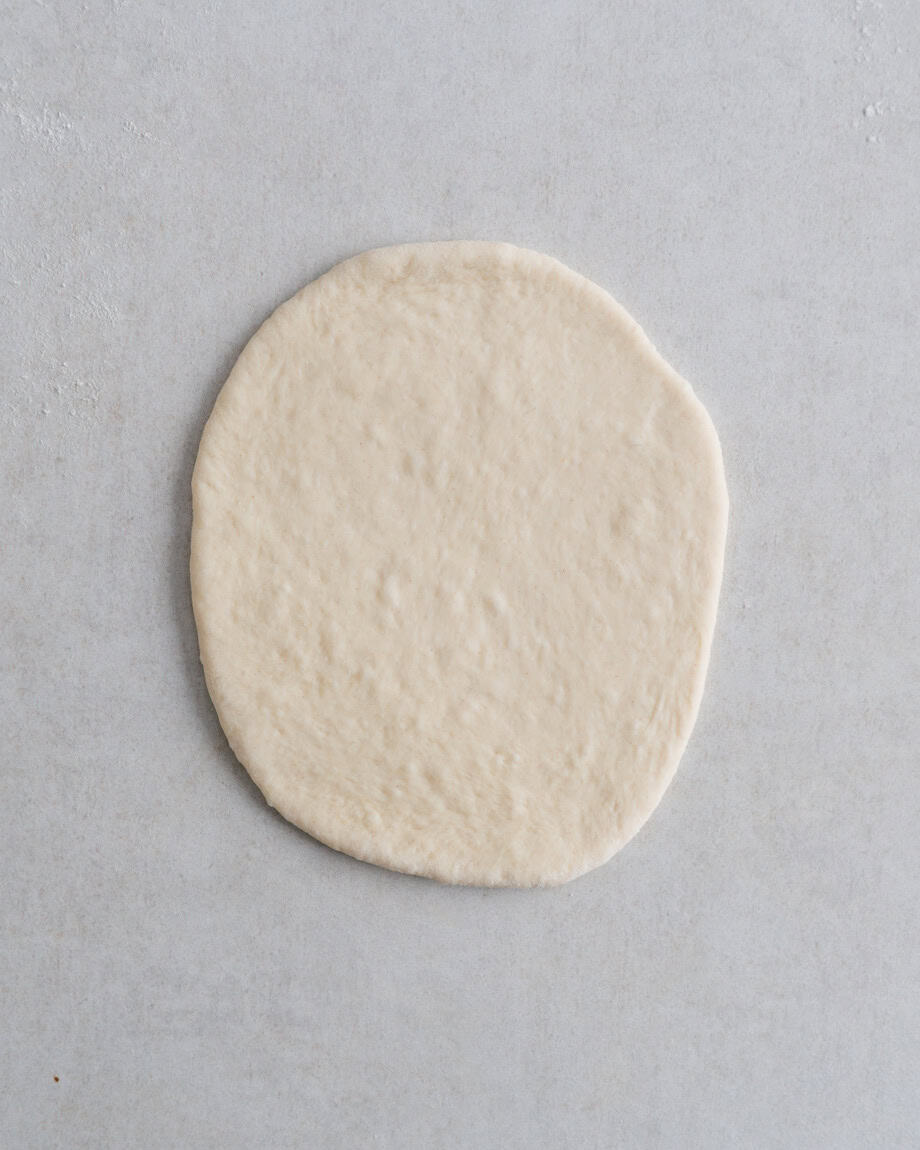
Rolling and Second Rise. Dust the surface with a little flour and roll the dough balls out into oval pitas, roughly 15cm x 13cm. Place the rolled pitas on a clean tea towel as you go, cover with another clean towel and leave to rise for 30 minutes.
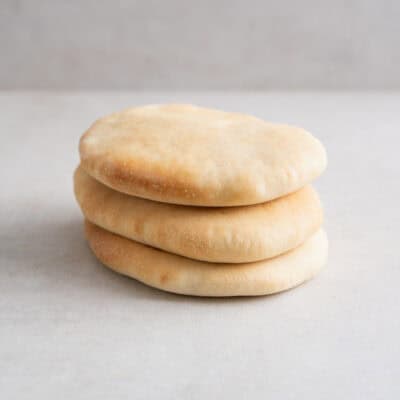
Bake. Meanwhile, preheat the oven along with a tray to 250°C (230°C fan). Once the pitas are ready, carefully remove the tray. To transfer a pita, flip it onto your hand by lifting the towel. Place the first 2-3 pitas on the hot tray, return it to the oven and bake for 5-6 minutes until puffed up and just turning golden. Line a bowl with a clean towel, transfer the hot pitas inside and fold the towel over to keep them warm and soft, then repeat with the remaining dough.

Useful Tips
- High Heat is Key: Baking pita at a very high temperature helps create the steam inside the dough, which is essential for forming the pocket.
- Moisture Matters: A slightly damp dough is better than a dry one. If your dough feels dry, add a little more water during mixing. If it feels too sticky, cover it with a bowl and let it rest for 5 minutes, then try kneading it again. Otherwise, add a little flour.
- Cover the Dough: Keep the dough covered with a damp cloth or reusable plastic bag during the resting periods to prevent it from drying out.
- Use a Baking Stone: If you have one, a baking stone or steel provides the best heat distribution, ensuring your pitas puff up perfectly
- Let them Steam: Once baked, place the hot pitas in a bowl lined with a clean kitchen towel and wrap the towel around then. The residue steam will soften them.
- Fluffy Pockets: to create even fluffier pockets that can be stuffed with falafel, tahini sauce and salad, simply divide the dough into 6 pieces (around 110g each) and roll them into 14cm wide circles.
Why You’ll Love This Pita Recipe
- naturally & traditionally vegan
- easy to make
- soft texture
- perfect for stuffing and dipping
- easy to freeze
How to Store Pita
Storing homemade pita is simple and ensures you have fresh bread ready to go whenever you need it. Here’s how to do it:
- At Room Temperature: Place your cooled pitas in an airtight container for 1-2 days.
- Freezing: For longer storage, freeze the pitas in reusable plastic bags or containers. To thaw them, heat them for around 15 minutes in a 200°C preheated oven (180°C fan), or simply pop them in the toaster from frozen.
Other Bread Recipes You Might Like
- Kenyan Chapati: A layered flatbread of Indian influence
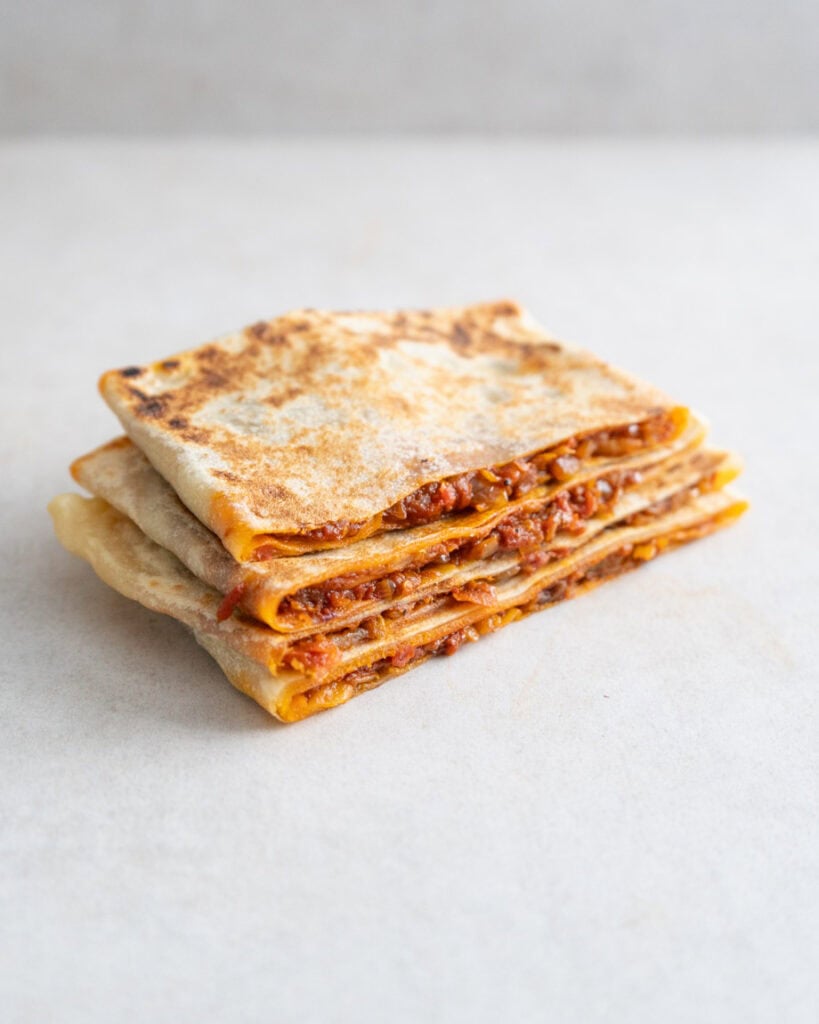
- Mhajeb: Algerian flatbreads stuffed with a spicy harissa and onion filling
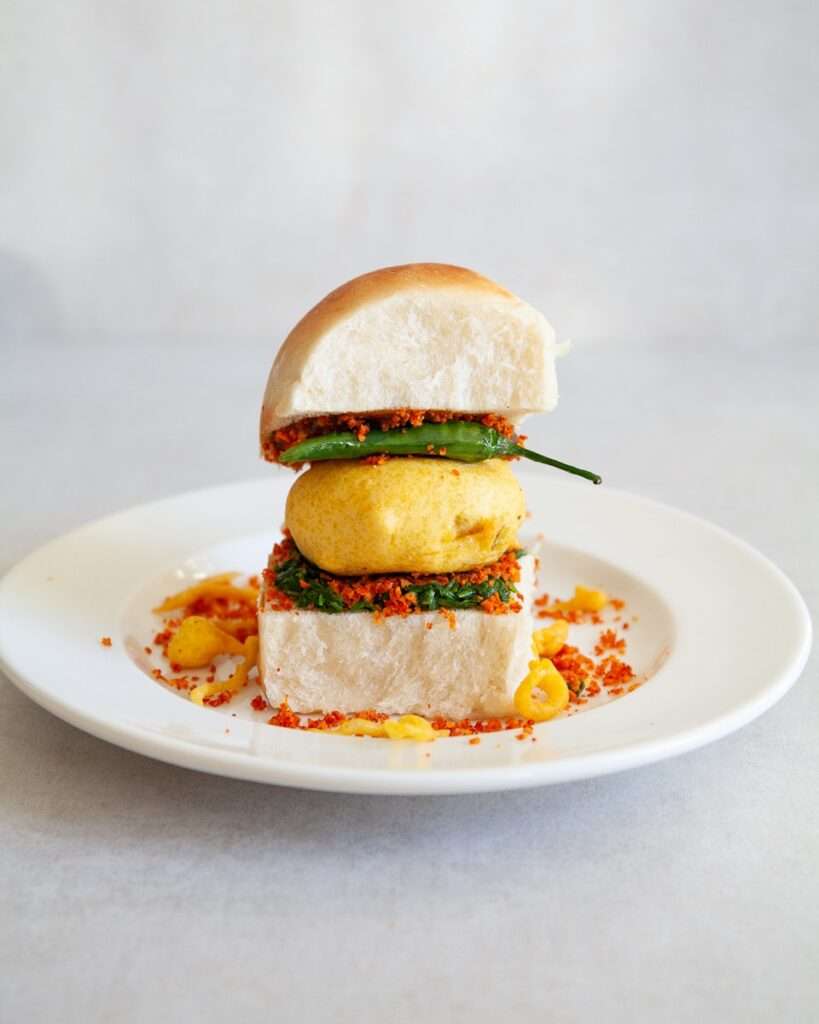
- Bread Rolls: soft bread rolls, perfect for Vada Pav
- Sourdough Seeded Rye Bread: an easy bread to make with your Sourdough Starter
**I receive a small commission from affiliate links on this page**
Easy Homemade Pita Recipe (step-by-step)
Equipment
Ingredients
- 20 g fresh yeast (or 7g dried yeast)
- 10 g golden granulated sugar
- 30 g olive oil + extra for greasing
- 210 ml lukewarm water
- 400 g bread flour
- 8 g salt
Instructions
- Crumble the yeast into a large bowl. Add the sugar, olive oil and water and whisk to dissolve the yeast. Add the flour and salt and use your hands to mix everything into a rough dough. Transfer the dough to a work surface, cover it with the bowl placed upside down and let it rest for 5 minutes, which will kickstart the gluten development. Then knead it for 10 minutes until smooth and elastic.
- Shape the dough into a large ball, grease a clean bowl with a little oil and place the dough inside. Cover it with a reusable plastic bag or a damp kitchen towel and leave to double in size for around 30-60 minutes (depending on ambient temperature).
- Return the dough to the work surface and divide it into 8 pieces (80-85g each). Then shape each piece into a ball by tucking the edges underneath before stretching it over the work surface in circular movements with one hand. You want to create a smooth surface across the dough. Cover the balls again.
- Dust the surface with a little flour and roll the dough balls out into oval pitas, roughly 15cm x 13cm. Place the rolled pitas on a clean tea towel as you go, cover with another clean towel and leave to rise for 30 minutes.
- Meanwhile, preheat the oven along with a tray to
 250 °C (482 °F) (
 230 °C (446 °F)). Once the pitas are ready, carefully remove the tray. To transfer a pita, flip it onto your hand by lifting the towel. Place the first 2-3 pitas on the hot tray, return it to the oven and bake for 5-6 minutes, until puffed up and just turning golden. Line a bowl with a clean towel, transfer the hot pita inside and fold the towel over to keep them warm and soft, then repeat with the remaining dough. Enjoy warm.


0 Comments